10 Common Tricks About Peel and Stick Backsplash: Transform Your Space with Ease
Introduce:
Renovating a kitchen or bathroom can be a daunting task, especially when it comes to choosing the right backsplash. However, peel and stick backsplashes are a popular choice among homeowners because of their ease of installation, affordability, and versatility. In this article, we'll explore 10 common peel and stick backsplash tips that will help you remodel your space with minimal effort.
1. Proper Surface Preparation:
Before installing a peel and stick tailgate, it is critical to properly prepare the surface. Clean the area thoroughly to remove any dirt, grease, or debris. Make sure the surface is smooth and dry for the adhesive to bond effectively.

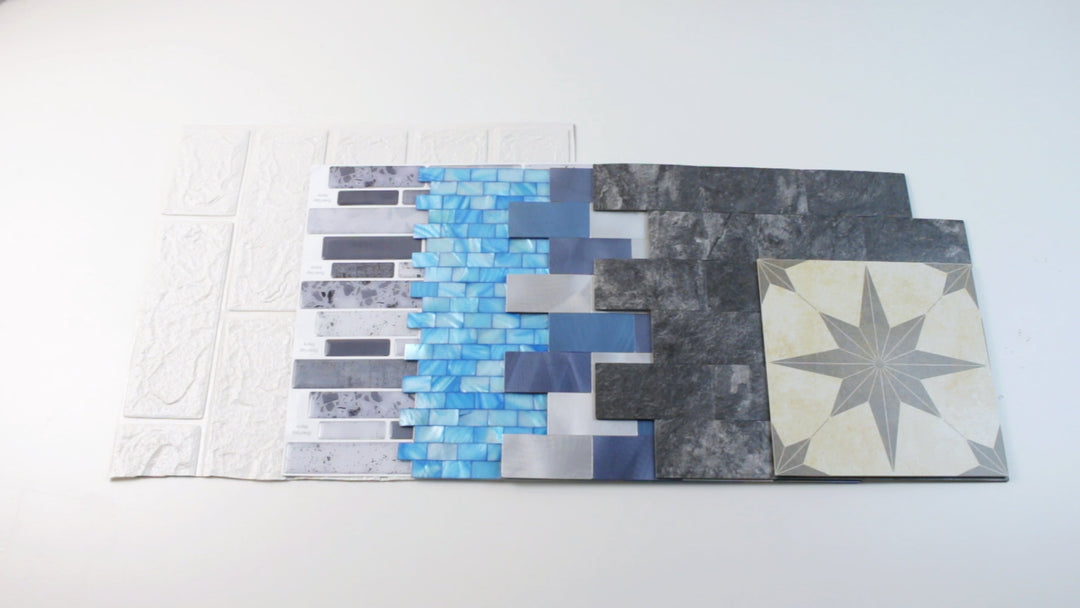
Creamy Stone Peel and Stick Tile Backsplash Hexagon Tiles for Kitchen
2. Test for Adhesion:
To ensure a strong bond, the peel and stick backsplash must be tested for bond quality prior to installation. Tape a small portion to the surface where it will be installed and check for adhesion. If it doesn't stick well, you may need to address any underlying issues or consider adding a stronger adhesive to complete the project.
3. Use a Level and Guide:
For a straight and symmetrical backsplash, use a level and rails. Start by measuring and marking the centerline of the wall. Then, place a temporary guide along the centerline to guide your tile placement. This will help you maintain a consistent pattern and prevent crooked lines.

4. Trim and Cut with Precision:
Trimming and cutting of peel and stick backsplash tiles may be required to install them around outlets, corners, or other obstructions. Use a sharp utility knife or scissors for precise cuts. Before making any cuts, take the time to measure twice to ensure a seamless and professional-looking installation.
5. Heat and Bond:
If you experience tiles that won't stick properly, using a hair dryer or heat gun will usually do the trick. Applying heat to the tile softens the adhesive, making it more flexible and strengthening its bond to the surface.

6. Overlapping Technology:
If your peel and stick backsplash has a pattern or design, consider using an overlapping technique for a seamless look. Instead of laying tiles edge to edge, slightly overlap the edges to create a continuous pattern with no visible gaps.
7. Grout or No Grout?
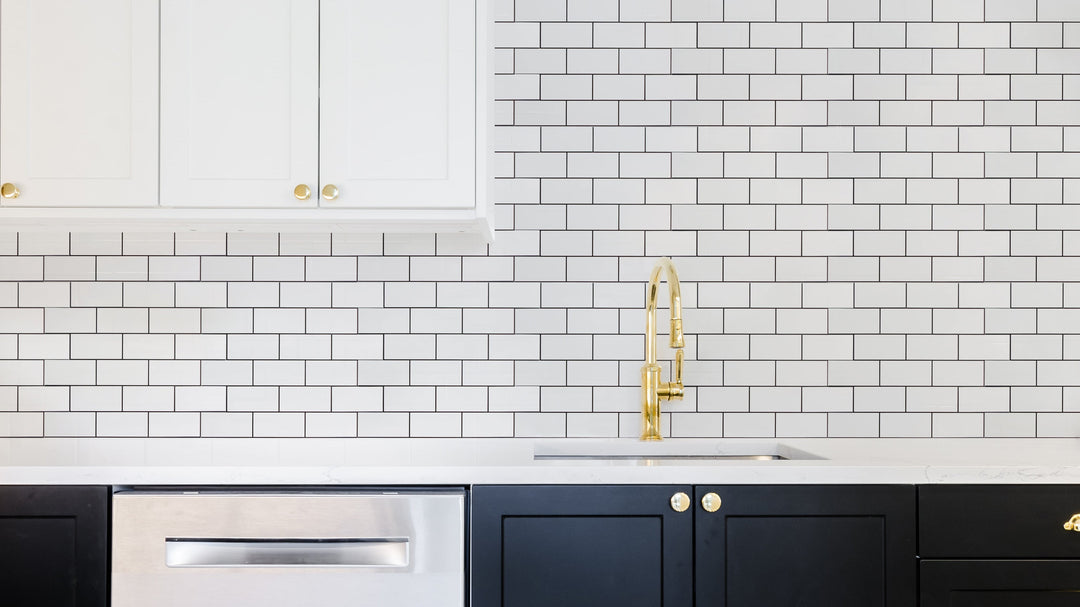
One of the great things about peel and stick backsplashes is that you have the option to use grout or not. Grouting can give a more traditional and finished look while skipping the grout can result in a more modern and clean look. Consider your space style and personal preferences when deciding whether to use grout.

8. Press and Smooth:
After applying the tile to the surface, press firmly and smooth out any air bubbles or wrinkles. This step is essential to ensure a strong bond and a perfect finish. You can use a small roller, a stiff card, or even your own hands to smooth out any imperfections.
9. Removal and Relocation:
Peel and stick tailgate allows for easy removal and repositioning. If you make a mistake during installation, please gently peel off the tile or heat it with a hair dryer to peel it off, and reattach it in the desired position. Be careful not to damage the tile or the wall in the process.
10. Long-term Maintenance:
To keep your peel and stick tailgate in top condition, follow the manufacturer's cleaning and maintenance guidelines. Generally, tiles are wiped down with a non-abrasive cleaner and a soft cloth. Avoid harsh chemicals or abrasive scrubbers that can damage the finish.

Conclusion:
Peel and stick backsplashes have revolutionized the way homeowners approach kitchens, bathrooms, fireplaces, and more. By following these ten common tips, you can easily achieve professional-looking results. From proper surface preparation to mastering installation techniques, these tips will help you transform and upgrade the look and feel of your space.


What kind of grout do I use.
Leave a comment