

How to Install Peel and Stick Subway Tiles with Plastic Frames?
|
|
Time to read 8 min
|
|
Time to read 8 min
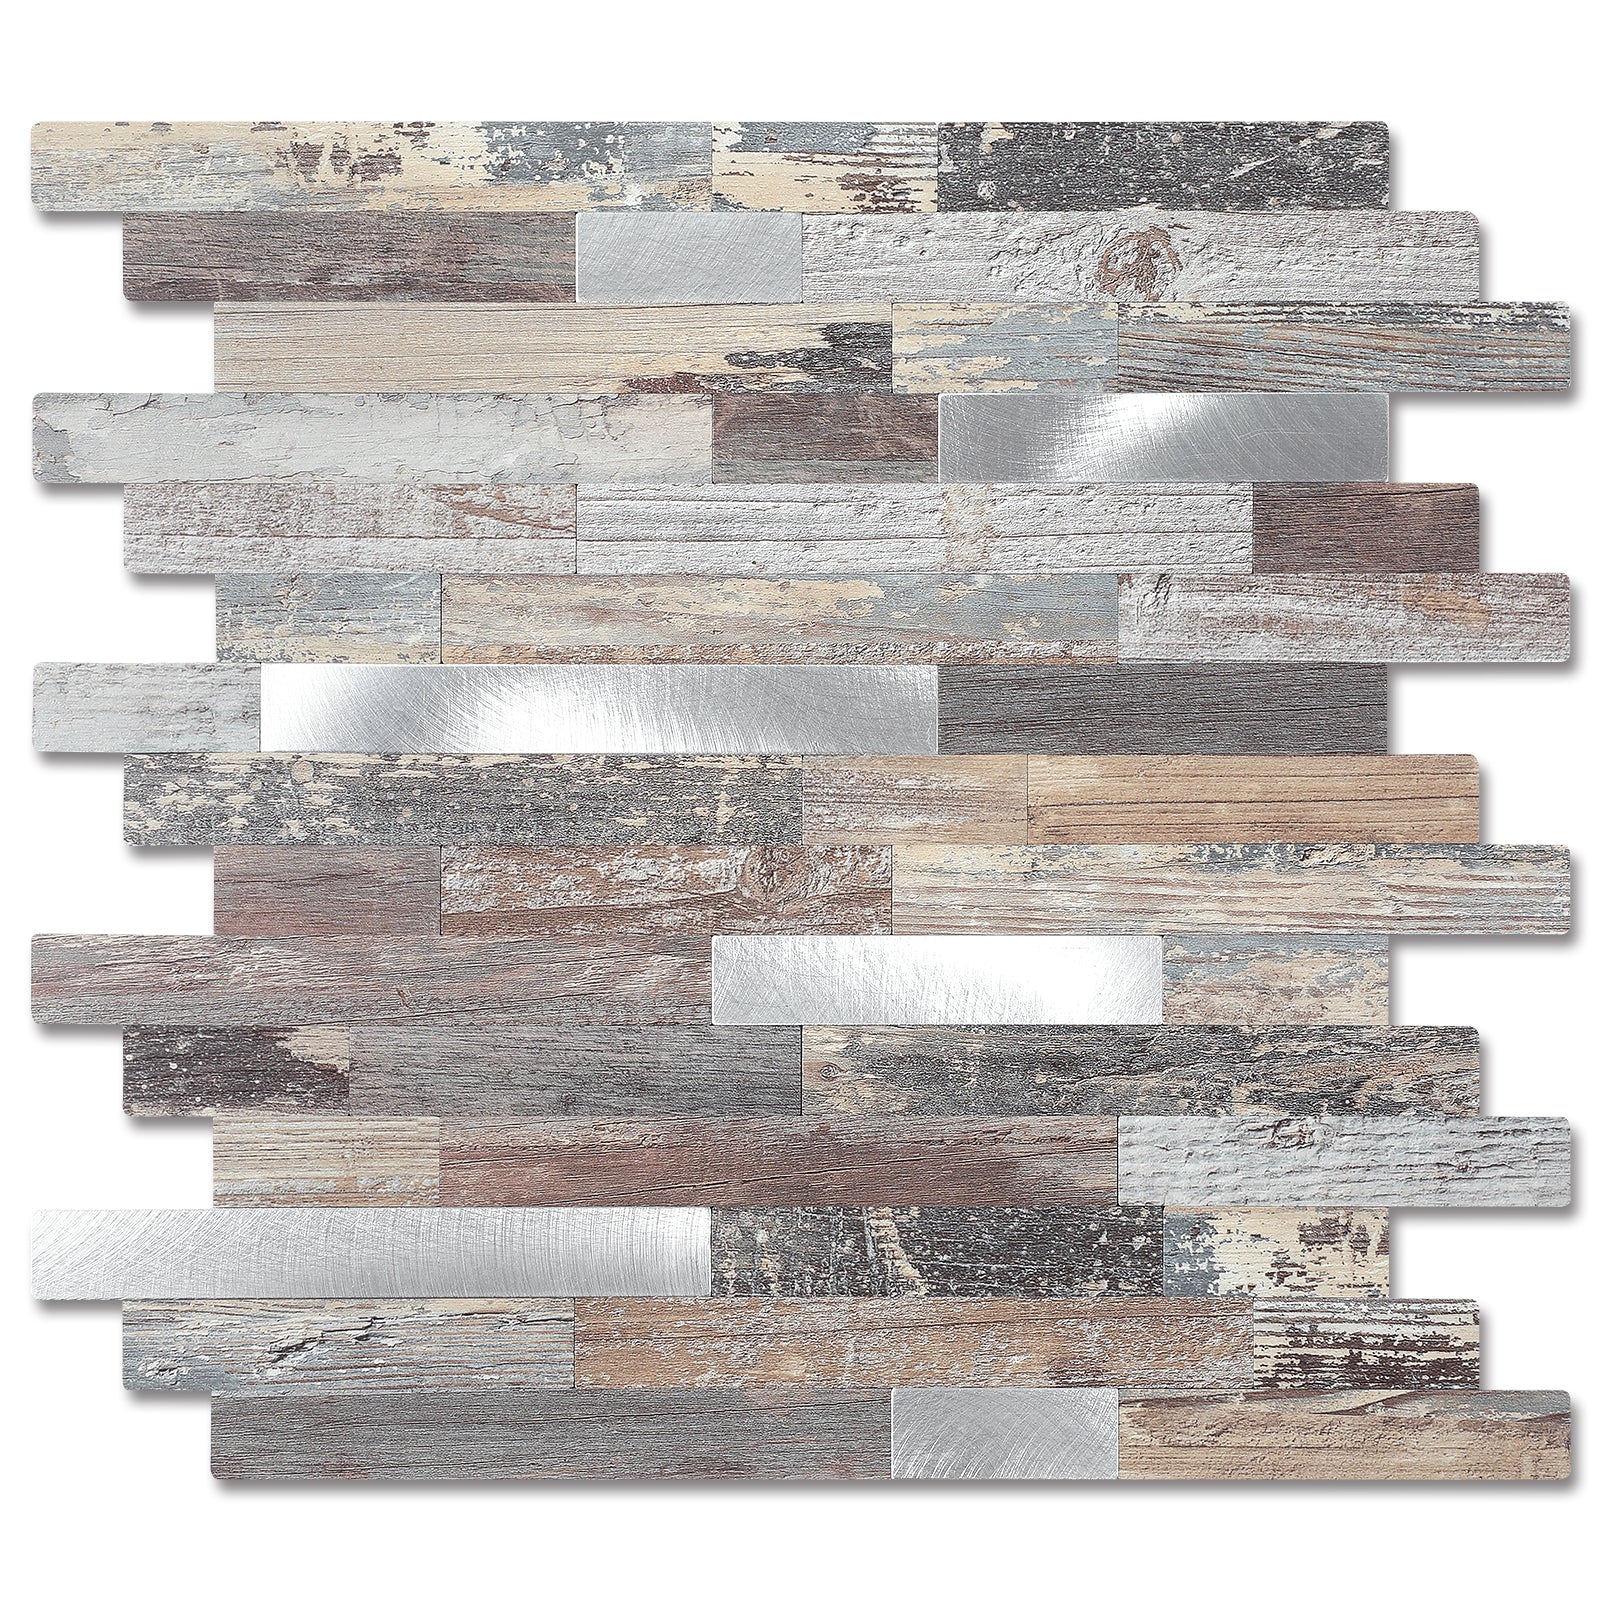
Peel and stick subway tiles have always been a classic style of self adhesive tile. From the original vinyl subway tiles to PVC subway tiles, there have been constant changes and improvements, surface textures, colors, etc. Recently subway tiles with a bordered look have become popular, mimicking the grout lines of real tiles. Today we'll explore how to install Yipscazo's peel and stick tiles with plastic frames.
If you have plans to reinstall peel and stick subway tiles in the near future, you'll need to know the installation prerequisites ahead of time: installable walls, square footage, and budget. The options may seem dizzying, but these pointers can help you limit them:
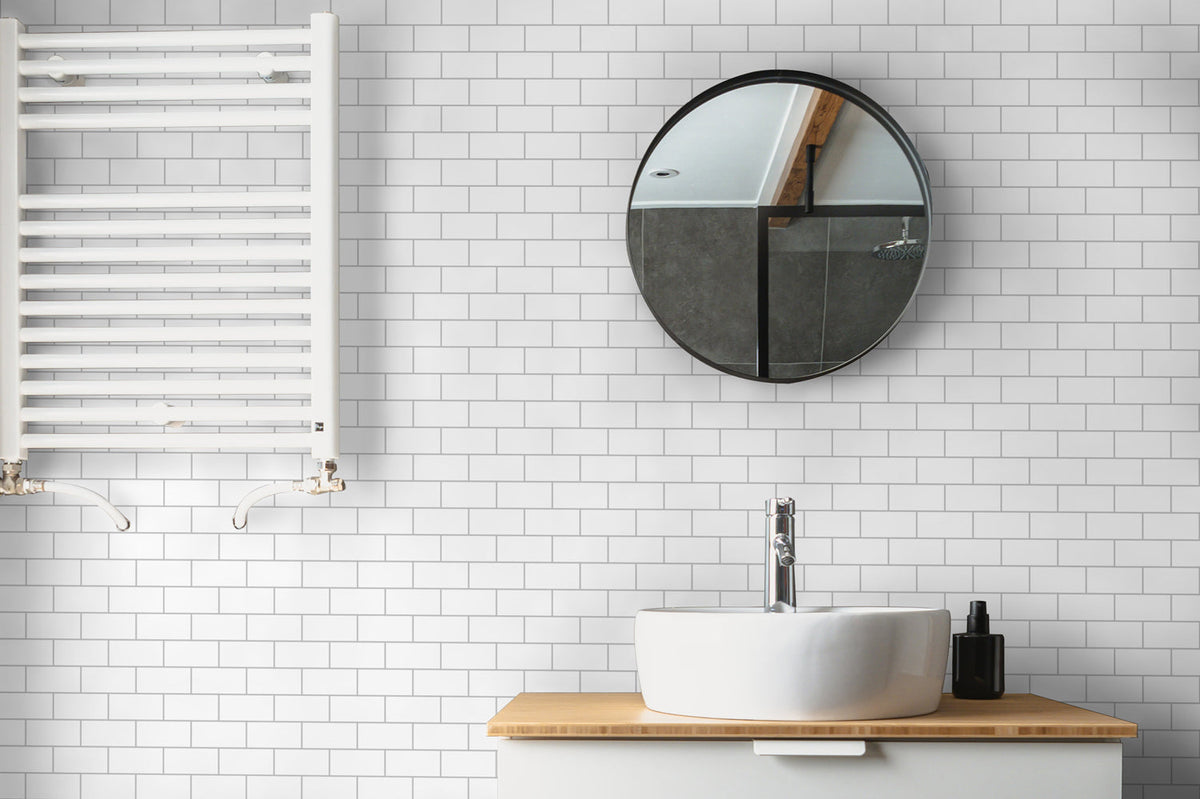
The material of the wall is a necessary prerequisite for the installation of peel and stick tiles, if the wall is not suitable, then you install peel and stick tiles may not be useful, because the unsuitable wall causes the tiles can not be firmly affixed to the wall. Which walls can be directly applied peel and stick tiles, which walls are not suitable for use?
These walls have a common point, the surface is flat and smooth without dust, can be fully adhered to the backing of self-adhesive tiles, so that it is firmly affixed to the wall. Even with a subtle texture of the tile surface, it can be firmly with the peel and stick subway tiles fit!
These uneven surfaces are full of particles, and come with dust, can not be fully adhered to the adhesive backing, so it will lead to peel and stick subway tiles easily falling off after sticking. Wallpaper is a special case, it is flat, but because it is attached to the wall, and it is lightweight and easy to peel off over time, can not load the peel and stick subway tile with a certain weight.
With a wall analysis, you should be able to determine if the walls of the space you're remodeling are ready for peel and stick tile. After determining the walls that can be installed, you will then understand the instructions that follow.
Peel and stick subway tiles can be used in different spaces in different scenarios, this situation determines the size of the area you need to install. The size of the area determines how many peel and stick subway tiles you need, for example, a fireplace surround is usually covered by a box of 10 peel and stick tiles, which is about 10 sq.ft. Before installing you need to determine the area you need to install, make sure the peel and stick tiles you buy have the area reserved for wear and tear but not exceed the amount. You can calculate the size of the area by measuring the length and height and adding 10% to ensure that there will be no lack of tiles due to the loss amount. Once you have calculated the area you need, you need to start knowing your budget.
Installation of peel and stick tiles doesn't require a professional and you can do it yourself, which cuts down on the cost of installation by a professional. Here you only need to estimate the cost of the tiles, and what determines this cost is generally the style and quantity of the peel and stick tiles. Self adhesive tiles come in various styles such as subway tiles, herringbone tiles, hexagonal tiles, linear hybrid tiles, brick tiles and more. These tiles are also differentiated by the surface material, stone, wood, metal, mixed metal, mother of pearl tiles, etc. The cost of different styles of tiles varies and you can match the right tile to the furniture and product cost of the area where it will be installed. The mother of pearl tiles is the most costly and is made from materials taken from naturally polished shells. Peel and stick subway tiles are the most classic style, and you can follow our step by step instructions to learn how to install self adhesive tiles next.
Today we modeled the size of the space behind the kitchen stove with an accompanying range of outlets as an example of how we would install peel and stick subway tile. We chose the Plain White with Black Frame peel and stick subway tiles, and the measurements gave us an area size of 4.58 square feet. We decided to purchase a box of 10 peel and stick backsplashes to avoid damage to the tiles due to mistakes during installation.
Tools: level/horizontal ruler, hobby knife, scissors, boundary ruler, pliers, cleaning cloth, spray bottle
Open the box, take out the tiles and put them on the ground to simulate the area you are going to install, and lay the product on the ground to arrange the splices. Through this simulation of paving, you can find the product quality, quantity, and the overall effect of the installation before the installation has a general awareness of the product quality, quantity, and not in the installation process or after the installation only to find the problem.
1. Clean the wall
Cleaning the wall of dust and stains is an essential step and one of the ways to increase adhesion. If you are installing in the kitchen, then you need to prepare a degreasing cleaner to clean the wall to remove dirt and dust. After cleaning, you need to dry the wall completely before continuing the installation, or use a dry towel to dry the residual water droplets.
2. Cutting the tiles
Fit the wall edge position to form a right-angled edge, will be peeled and paste subway tile placed on the cutting mat. Use a pencil to draw straight lines on the tiles, then use a hobby knife and ruler as a guide to cut the tiles straight. The cutting method depends on the tile material, we have this tile made of PVC, after cutting out the straight line break the tile by hand and then cut the backing tape with scissors. Please don't throw away the cut tiles, you need to use this part to fill in later.
3.Peeling, Pasting and Pressing
According to the right angle within the installation range, select the baseline, then peel the cut tiles off the backing and paste them to the wall aligned with the baseline. Press the tiles by hand or roller to make sure the backing is fully adhered to the wall for better adhesion. Make sure the subway tiles are aligned and snap to each other, once pasted, they cannot be moved easily.
4. Plastic frame leaving line attention
When installing the second row of tiles, you need to consider the plastic frame attached. This means that when measuring and cutting the tiles, consider whether the plastic frame will remain within the range of tiles that will be installed or in the next section. This may require additional precise measuring and cutting to ensure that the combination of tiles and plastic frame works perfectly. Tools such as hobby knives and scissors can be used to handle this section accurately.
Learn as much as you can about how to install peel and stick subway tiles, how to cut them better, and more with the following video.
During the installation process there may have been many demonstrations of errors, which also require special attention. For example, the measurement data, the pre-set scheme, the order of installation, this series of errors led to the final sealing part of the missing modules, but in the end they were completed with leftover scraps.
Installing peel and stick subway tile when encountering an outlet requires some special steps to be taken to deal with it. Follow these steps for installation:
DISCONNECT POWER: First make sure to disconnect power to the area where the outlet is located. This is a very important safety step to avoid electric shocks or other accidents.
Measure: Using a measuring tool (such as a ruler or measuring tape), accurately measure the size of the tiles around the outlet. This will ensure that when the tiles are cut in the future, the dimensions accurately match the location of the outlet.
Mark: Using a pencil or other erasable marking tool, mark the location and shape of the outlet on the tile. Make sure the markings are clearly visible and perfectly aligned with the actual outlet locations.
Cut: Using a tile cutting tool, carefully cut the tiles to the marked shape. Usually PVC tiles are more difficult to cut than vinyl tiles, to make it easier, instead of cutting from the center of the whole tile, separate the installation area into four parts, top, bottom, left and right. Cut the right size according to the tile size as shown in the video.
Paste: Place the cut tiles around the socket, making sure that they fit perfectly with the surrounding tiles and that the style pattern matches the surrounding tiles.
Test: Make sure the work around the outlet is complete and the tiles are securely installed before turning the power back on. Then perform a function test of the outlet to ensure that all electrical devices can be used properly.
Clean: Clean up any debris or dust created after the installation is complete so that the area around the outlet is neat and clean.
The above steps will ensure smooth handling of the outlets when installing peel and stick tiles for safety and aesthetics.
After the installation is complete, you may find that the tiles around the right-angled edges may not be flat enough, so what to do? We come with a matching self adhesive trim strip to give the surrounding border a bit of a trim. You can match a coordinating border color to the tile color to make it blend in with the whole scene.
If you are installing subway tiles with plastic frames for the first time, consider a 15% cut loss and purchase enough tiles at one time to ensure they are from the same batch to avoid slight color differences.
Use a level and pen to create at least one vertical and one horizontal reference line to guide tile placement.
Press the tiles by hand or with a rolling cylinder after pasting to fully adhere to the wall.
If installing in a location prone to water exposure, it is recommended that tile trim strips and caulk (or glass adhesive) be used to minimize tile backing from touching water.
Freshly painted walls need to dry for 3-4 weeks to ensure that they are completely dry and dust free, the most suitable wall for installation is a tiled surface.
Ready to upgrade your DIY peel and stick tile skills?


