

Is Your Vinyl Flooring Starting to Unstick? A Complete Repair & Prevention Guide
|
|
Time to read 4 min
|
|
Time to read 4 min
Find out why your vinyl flooring is lifting, how to fix mild to major damage, and five to ten-year floor life extension recommendations. Includes a replacement decision guide and step-by-step repair instructions.
Easipay Carpets estimates that "40% of vinyl flooring problems result from unsticking edges—neglecting early indicators may cause tripping hazards, water damage, and expensive replacements." Unstuck vinyl plank flooring or vinyl sheet flooring goes beyond merely cosmetic issues; it may rapidly descend into safety and structural problems.
Whether you have seen bubbles under your vinyl flooring, tiles moving, or corners peeling up, the message is evident: act now. Neglecting insignificant detachment today might lead to subfloor rot or a complete flooring replacement tomorrow.
The good news is that early detection and simple home fixes may add 5 to 10 years to the lifespan of your vinyl flooring. Avoiding early replacement will save you thousands. Let's explore why this occurs and what you could do.
Understanding the root cause first enables one to correct anything. These are the top five causes of lifting either vinyl plank flooring or sheet flooring begins to show.
Adhesive Failure
Particularly if your floor is over five years old, aging glue loses its hold over time. Under strain or changes in surroundings, inexpensive adhesives might also, for instance, fail faster.
Moisture Intrusion
Vinyl is both waterproof and water-resistant. Vapor from kitchens or bathrooms seeping into the underlayment breaks down the adhesive bond and results in bubbling or edge lifting.
Temperature Fluctuations
Vinyl flooring might contract and swell. Common in homes with subpar insulation, a variation of more than 10°C could cause buckling or cause the flooring to drift away from the subfloor.
Unequal Subfloor
Any difference or bump beyond 3 mm might affect adhesion. Older houses with uneven concrete or wooden subfloors, which eventually lead edges to rise, frequently exhibit this.
Subpar Installation
Keep the check if your installer missed steps, such as not cleaning the subfloor, applying adhesive inconsistently, or omitting roller compaction. The careless application can cause unsticking.
From little corner lifting to major tile detachment, here's how to address unsticking vinyl floors at your residence:
Mild edge lift is best for little corners or edges beginning to curl.
Tools
Weights or heavy books
Aluminum foil
Floor roller
Steps
To guard the surface, cover the raised edge with aluminum foil.
Using a floor roller, press the edge firmly and roll it flat.
Let weights cover the surface set for eight hours.
Moderate unsticking is best for little corners or edges beginning to curl.
Tools
Replacement tiles
Heavy objects or heavy books
Floor roller
Steps
To protect the surface, you can remove the loose tiles and replace them with new ones. Using a floor roller, press firmly on the edge and roll it flat. Place a heavy object over the surface and let it sit for 8 hours.
A severe lift is best for detached planks, bubbling, or warped vinyl flooring. 🔨
Requirements for tools:
Vinyl particular adhesive (e.g., Roberts 6700)
Floor scraper
Waxed paper
Floor roller
Steps
Inject adhesive under the raised area using a glue syringe. Roll from the center outward to eliminate bubbles and evenly disperse glue. Cover the area using wax paper. Then, weigh it down with books or a heavy object. Cure undisturbed for 24 hours.
Repairing your vinyl flooring is far simpler and less expensive than preventing lifting. Use these techniques to preserve your vinyl flooring:
Humidity Control
In moisture-sensitive areas, such as bathrooms and laundry rooms, silicone should be used to seal the edges. To guard adhesive lifetime, maintain indoor humidity below 60%.
Stability of Temperature
Install vinyl flooring at a steady temperature ranging from 18 to 29 °C. Block direct sunlight using curtains, and steer clear of installing in areas with significant daily temperature variations.
Normal Inspections
Monthly check edges and seams. If you see even minor lifting, temporarily tape it down or use spot adhesive to stop the spread.
Pro Installation Tips
If you are installing or reinstalling:
For uneven subfloors, apply a self-leveling compound.
Use a notched trowel to apply adhesive.
Use a floor roller always to guarantee even pressure distribution.
You can have further details to fix your vinyl flooring here.
Here is a basic decision tree to help you go forward:
More than 25% of the tile or sheet area is lifting, right?
→ Indeed, replacement costs less.
No: Transition to the following inquiry.
Is the subfloor damaged or perhaps moldy?
Yes, replace the flooring and subfloor.
→ Repair remains a possibility.
Is the vinyl worn all over and older than 10 years?
→ Yes: think of replacement.
For minor repairs (edge lifts), you may walk on them after eight hours. For moderate or severe adhesive work, wait a whole 24 hours to guarantee appropriate curing.
Cold temperatures can make vinyl shrink, particularly in uninsulated residences. This shrinking strains the glue, which causes edges to rise.
Pet-scratched adhesive can be fixed by applying fresh adhesive. You can use a syringe to apply fresh adhesive. Press the syringe down and apply the adhesive. Wait for 24 hours to let it dry and set properly. It would be good to use pet-safe rugs in scratch-prone areas to make them safe from pet claws.
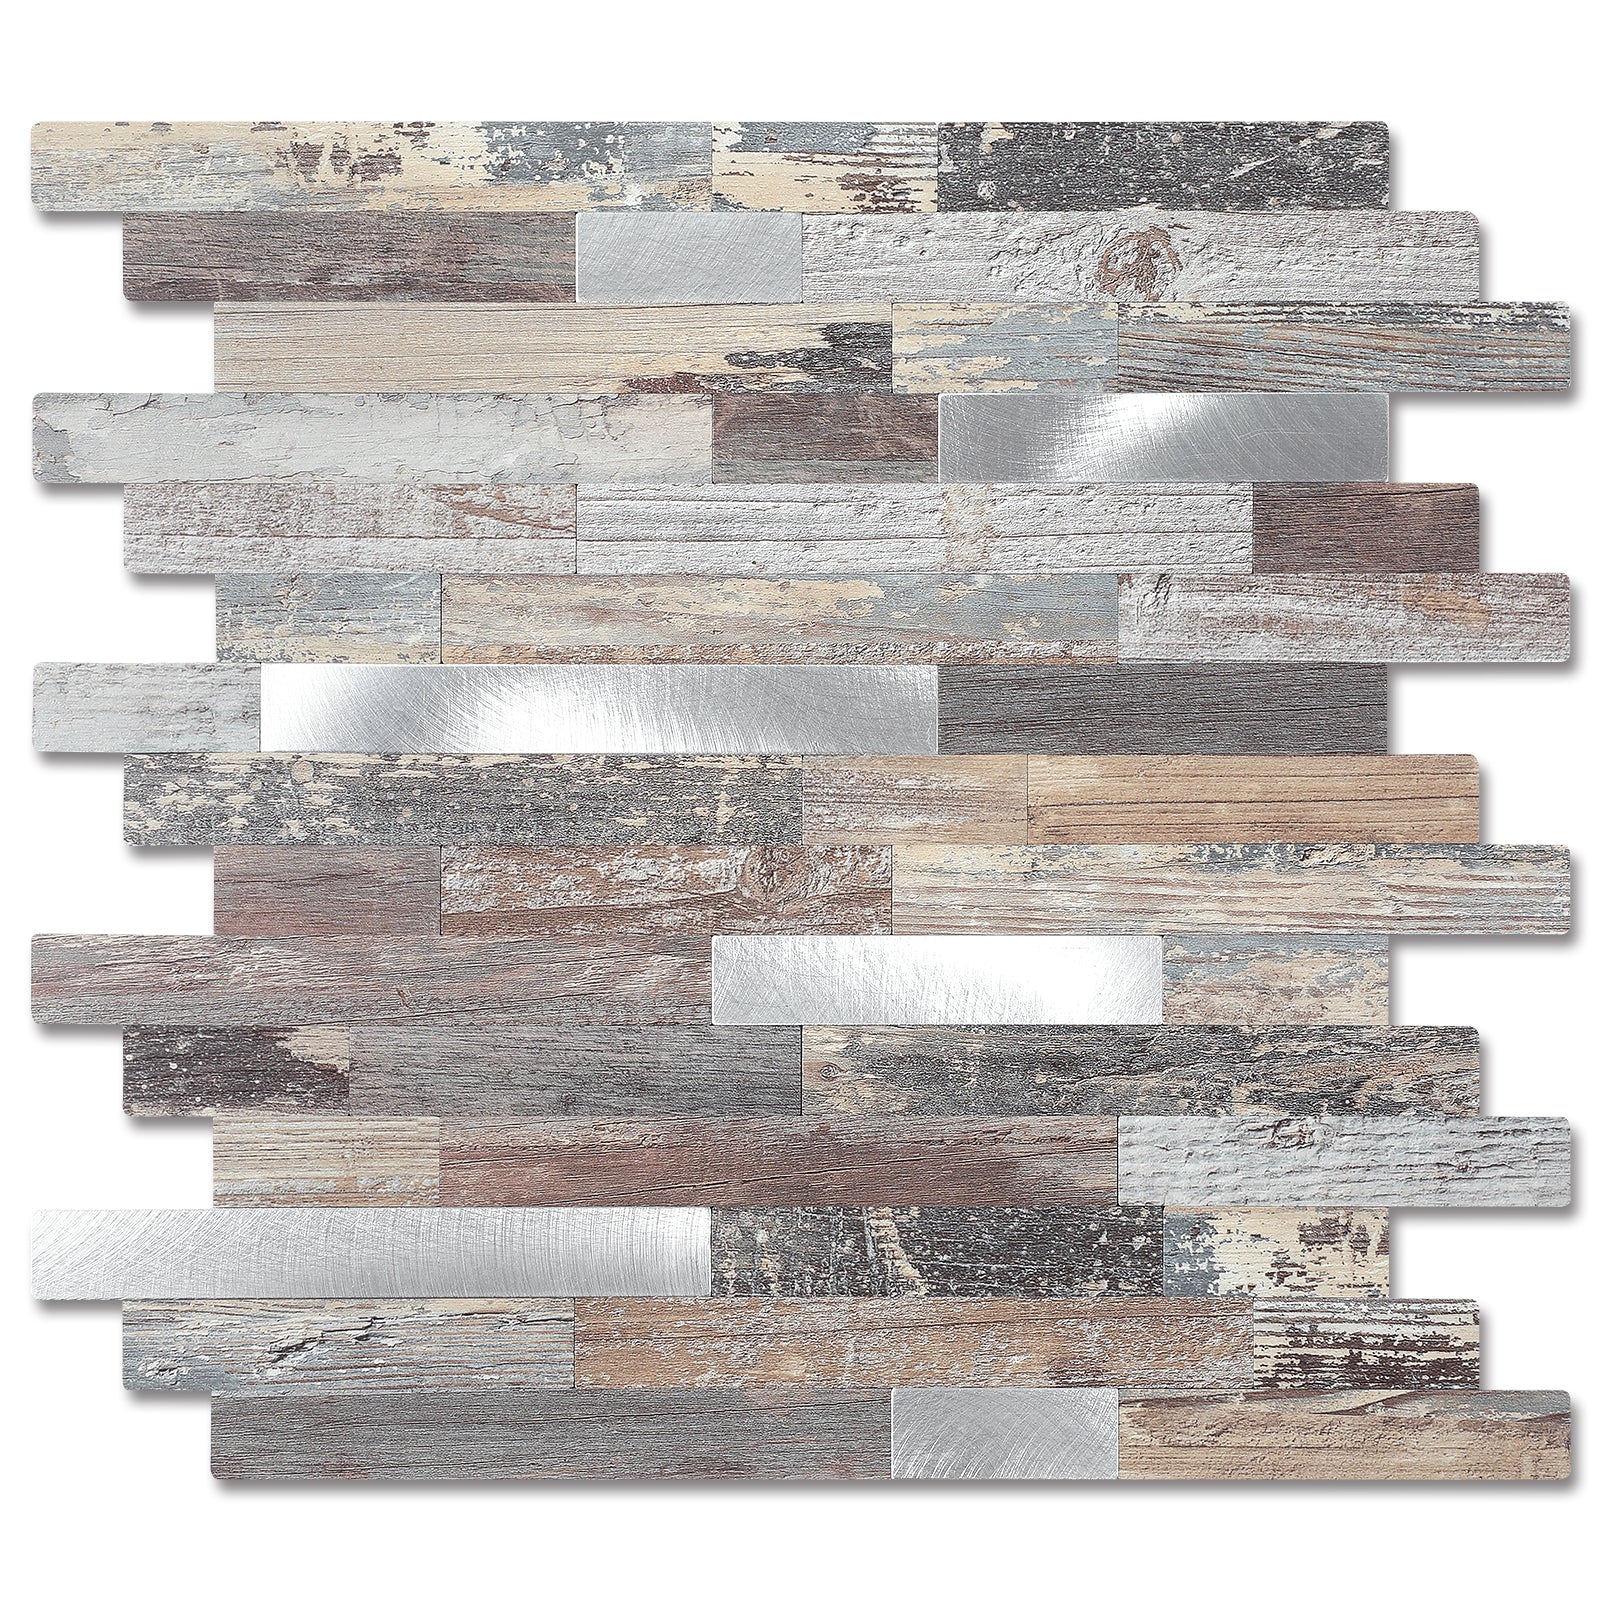
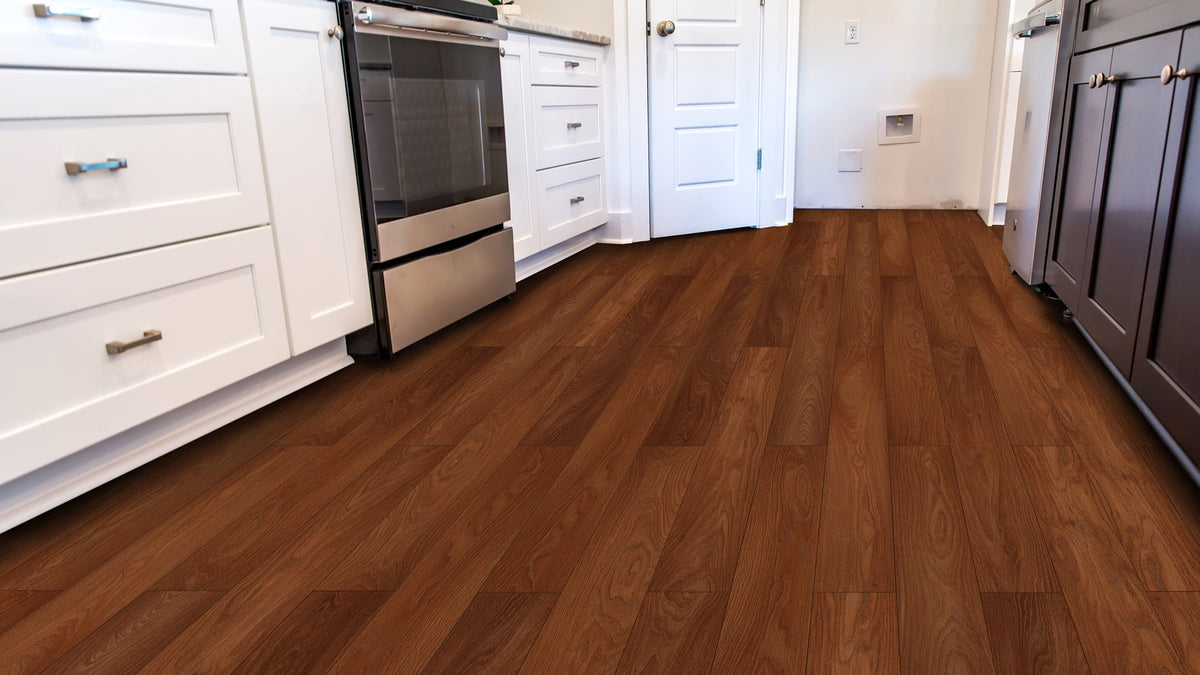
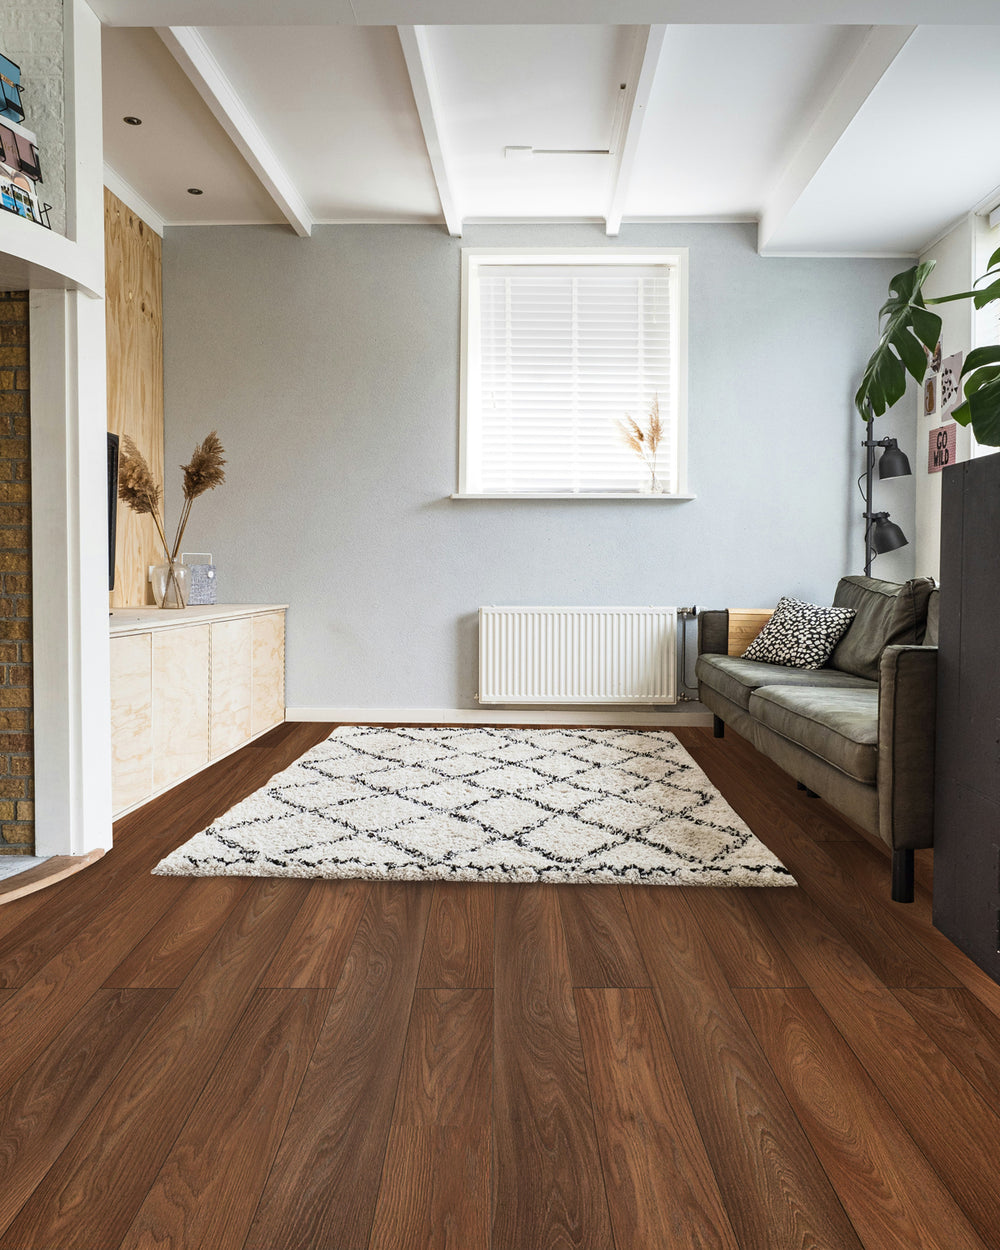
Vinyl flooring is a favorite with homeowners and home designers due to its functionality and affordability. Vinyl flooring integrates the utmost charm into your home interior. You can find peel and stick vinyl tiles in various colors and designs for making your walls and floor look amusing here.
Once you are done with the vinyl flooring installation, you need to take care of it for scratches to enjoy its elegance longer. Cure your vinyl flooring with early signs of scratching and prevent unsticking it by following this extensive guide.
If you apply the above-mentioned cure and maintenance tips and go for timely repairs, your beautiful vinyl flooring can last for years. It is easy to repair early scratching and unsticking if you use the right tools and techniques to fix flaws.


