


How to Install Peel and Stick Trim for Wall Tiles Like a Pro?
|
|
Time to read 5 min
|
|
Time to read 5 min
Have you ever spent countless hours trying to align those shiny/banging tiles perfectly, but were instantly brought to the "DIY-reality" of it by those raw, unfinished edges of your counter or cabinet? If so, we have something extraordinary for you today! Peel and stick trim is a one of a kind DIY solution that can make your life easier by hiding imperfect cuts, sealing edges, and offering protection against moisture.
It can turn your project into a seamless and worthwhile experience that looks as if it were done by a pro. This guide will cover how to choose, cut, and install the peel and stick trim correctly, while avoiding common mistakes people make.
Table of content
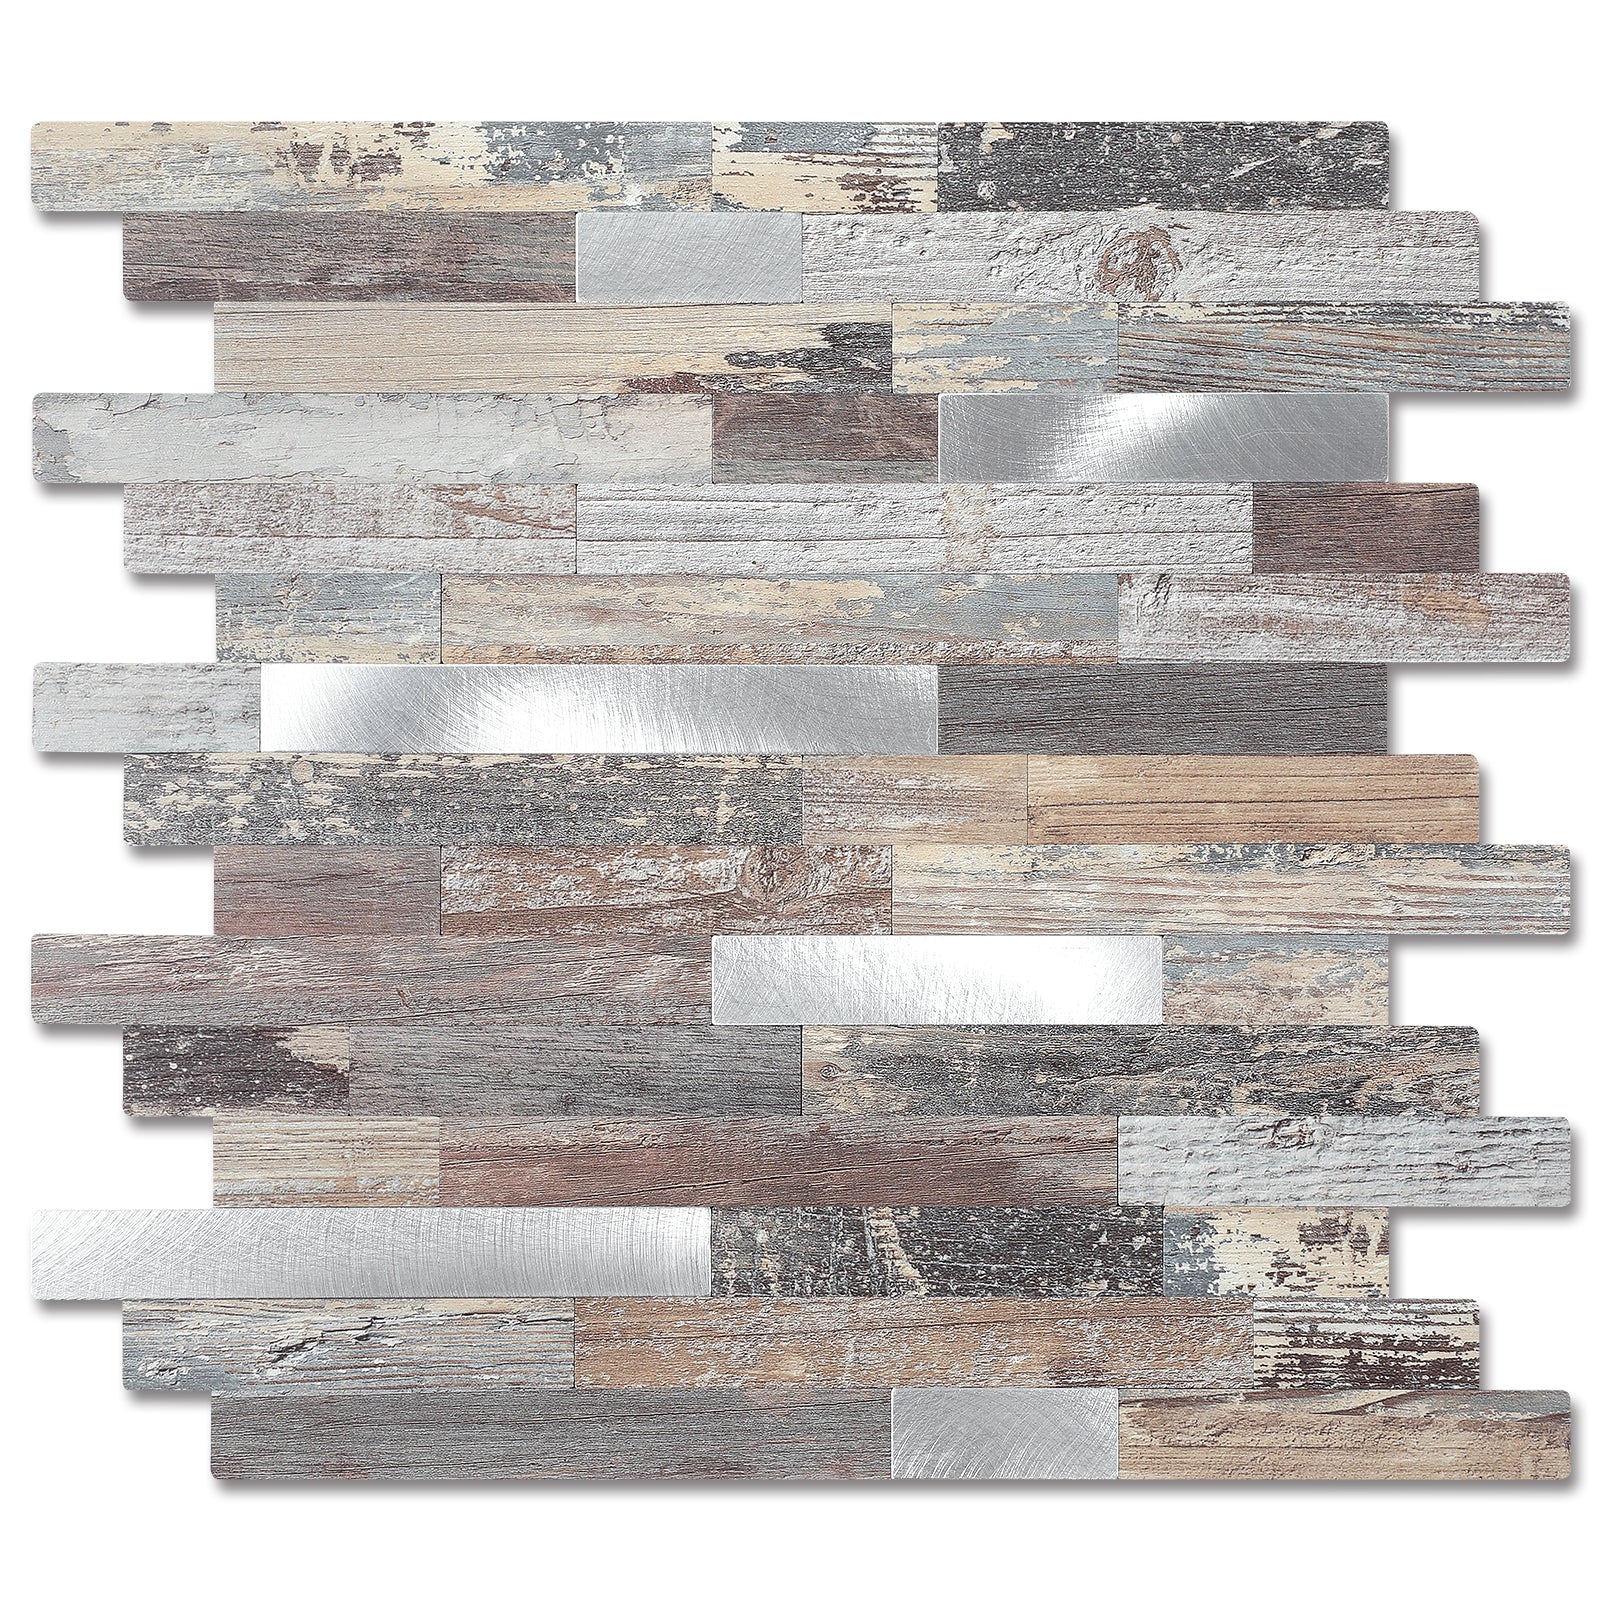
You must choose the right type of Trim for your surface or environment. It can be the most crucial step in determining the project's end result! The following are some types of Trim available for a tiling project:
If you don't prepare your surface well before putting up the tiles, then you are bound to adhesion failure. Most people rush this step, but this is the 'make or break' moment of following the recipe.
Splash a bit of water to cleanse the area generally, and after making sure all of the moisture has been wiped off, apply rubbing alcohol or degreaser to the surface. This is important as any contamination on the surface, such as invisible grease or dirt, will result in lifting of the tiles.
Tiling uses pressure-sensitive adhesives, and moisture is a great foe. Allow 30 minutes of drying time after you have cleaned the surface. Areas where water is used excessively, such as the kitchen and Bathrooms, allow for more time.
Make sure you run your finger along the tile edge, as it ensures spotting uneven spots. When you do fill them with a thin bead of clear caulk. Allow time to cure and smooth it out before applying the trim.
You have to measure each run individually; for this, use a metal straightedge as a guide and make various light passes with a sharp utility knife. But if you are using PVC trims, then heavy-duty scissors can give you a cleaner edge.
45 Degree miter cuts are important for outside corners so both pieces can sit flush with each other. That is why you need to apply to both pieces; also, make sure that you adjust your angles until the fit appears tight before peeling the adhesives. This is important as many older homes have corners that are slightly out of the square.
A butt joint made straight is your best bet here. You have to run the first piece and make it adjust flush into the corner before pressing the second piece tightly against it. Now, run a thin bead of clear caulk along the seam, and you are done.
Step 1 – Dry Fit
Before you can start peeling any backing, make sure every piece is in its place. Re-check the measurements and make sure all corners meet properly.
Step 2 – Peel and Align
Peel back the liner just 2 to 3 inches from one end and then start at the most visible endpoint with the adhesive. Make sure that the first section is firmly held in place.
Step 3 – Press and Smooth
Using a rubber roller, apply firm and even pressure from the centre towards the outside. Applying pressure just using your fingers can leave air pockets and make the tile lift.
Step 4 – Handling the corners
Before bending a flexible PVC wrapped around a right corner, make sure to warm the trim with a hair dryer on medium heat setting for 15-20 seconds. Otherwise, the PVC will just crease.
Step 5 – Seal the wet areas
Apply a thin line of clear silicone caulk along the edge of the peel-and-stick wall trim where it seems to be meeting the tile or wall. Wait 24 hours for it to do its job before exposing it to water.
You need to wipe the trim regularly with a wet cloth whilst using a very mild cleaner. Opt out of using bleach, alcohol, or other such strong chemicals. Check on the edges every few months and repress the sections that seem to have lifted from their place. In relatively wet areas, reapply the silicone caulk seals every 6 to 9 months if it appears cracked or the tiles are separated.
Yes, it will. But it is recommended to use a metal finish or gel edge trim for areas overtly exposed to moisture and seal the top edges with silicone caulk after the installation. Avoid splashing water onto the trim seams with high-pressure water jets.
Use a hair dryer to warm the trim along the entirety of its length and then start peeling. Later on, remove any adhesive residue with the help of a rubber cloth on soft clothing.
Yes, but make sure that the caulk is dry, clean, and is sitting properly flush with the surface. Remove the slightly raised, cracked, or mildewed caulk before applying the trim, or it will not hold.
Peel and stick trim is hands down the best and most effective upgrade that you can make to a tile installation. Anyone can achieve that custom-installed finish rather than a DIY nightmare if they have a clean surface, have precise cuts, and apply firm pressure during installation.
Browse through Yipscazo's full range of peel and stick trim molding options at yipscazotile.com before starting your tiling journey. If you are a beginner, then start small, choose a bathroom or a vanity backsplash, order samples through us to match your tiles, and build confidence as you tread forward.


