


How to Clean Every Type of Kitchen Backsplash (Without Damage)
|
|
Time to read 6 min

|
|
Time to read 6 min
Your kitchen backsplash is the part of your cooking space that does everything from serving as a decorative centerpiece to protecting the walls from splashes of sauce, oil, grease, and coffee.
But the issue with it is that cleaning it wrong can make things go from bad to worse in no time. When people use the wrong cleaners or tools, scratches on glass, dull spots on stone, and lifted vinyl edges can happen because of it.
That’s why this guide tells you exactly how to clean every type of kitchen backsplash safely, including peel and stick kitchen tiles, glass backsplashes, natural stone, and more. You'll get to know which products are good for cleaning, what to avoid, and how to keep that backsplash looking brand-new for years. So, keep reading and see what works best for you.
Table of content
Now, before we start, here are some golden truths of kitchen backsplash care that you need to ensure:
Whether it is a DIY or a store bought product, you always need to test the cleaner first because it can react unpredictably. Especially for natural stone and vinyl, you need to test in a hidden corner first to make sure it's ok for your backsplash.
Most stains don't need heavy scrubbing at all. Thus, using an aggressive approach directly is not recommended. You should begin with light soap and water before moving to any kind of other stronger solution.
For cleaning kitchen backsplashes like peel-and-stick, ceramic, stainless steel, or others, the materials recommended include:
Keep in mind that anything metal or coarse shouldn't be used for this purpose.
Regular light cleaning is far better than waiting until grime accumulates at a spot and is impossible to remove. Regular maintenance prevents staining, discoloration, and even mold in grout lines.
Here's what every smart kitchen should have:
Use lukewarm water and a drop of dish soap for daily maintenance. For messes that are still stuck, you can mix baking soda and water into a paste and then apply it. Let it be like this for a few minutes, then scrub lightly. For water stains or soap scum, a diluted vinegar solution works amazingly, but just keep it off the grout.
You can use a stone cleaner or soap mixed with lukewarm water for cleaning natural stone tiles. Also, always dry the surface afterward to avoid etching. For oil-based stains, apply a poultice paste made for stone. These clean the stain safely.
After every year or two, reseal your kitchen backsplash to protect against absorption.
These types of kitchen backsplashes are very easy to love, but the problem is that glass shows everything, including fingerprints, water spots, and even air smudges. Thus, cleaning is essential.
Spray a mix of half vinegar, half water (or a commercial glass cleaner) and wipe with a microfiber cloth.
For sticky residue, dab isopropyl alcohol onto a soft cloth.
For dried splatter, gently use a razor scraper held flat against the surface.
Also, regular wiping right after cooking keeps it crystal clear.
Start with mild soap and water, then dry with a soft towel. For this you should follow the grain direction of the steel. For a streak-free polish, apply a small amount of baby oil or a stainless-steel cleaner. Buff until it gleams.
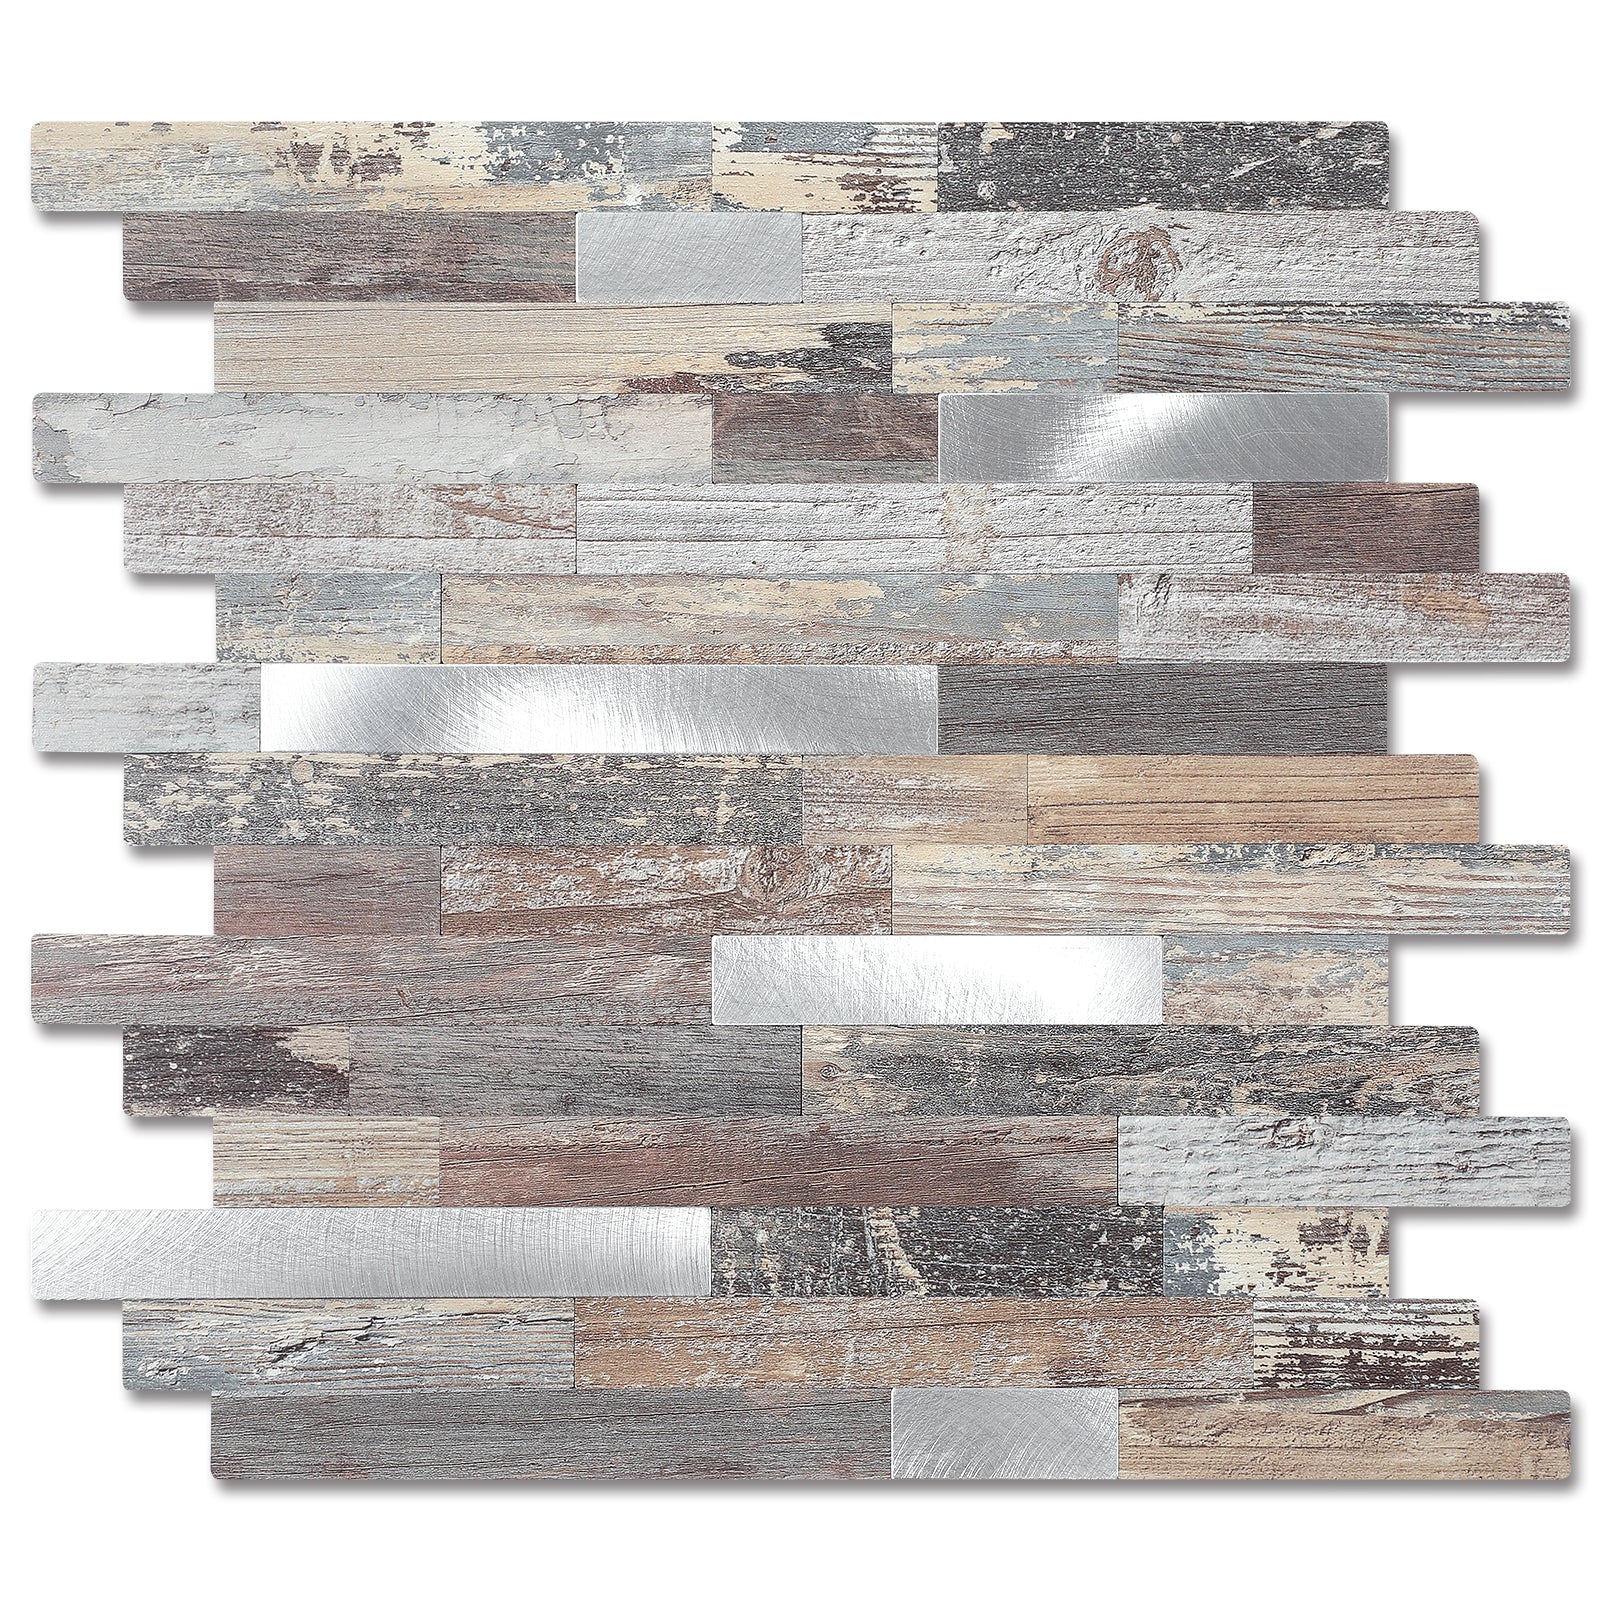
Peel-and-stick backsplashes are affordable, easy to handle, and popular, but their adhesive makes them delicate.
Use a damp cloth with soap and water. For grease spots, test a little rubbing alcohol on a corner first. Magic Erasers can remove light scuffs, but use gentle pressure.
Grout is the culprit behind most "dirty backsplash" looks. For this, scrub lightly once a week using a soft brush and mild soap. For deep cleaning, you can mix baking soda and hydrogen peroxide into a paste. Apply, wait 10 minutes, and then rinse.
Use an oxygen bleach (not chlorine) or a commercial grout cleaner for this purpose. If your grout is older or cracked, you need to reseal it to block moisture and bacteria.
For serious discoloration, a professional steam clean or restoration is an option as it's cheaper than retiling.
Apply a degreaser and let it sit for a few minutes instead of scrubbing immediately. Do it for grease and oil splatters on kitchen backplashes because this softens the splatters and makes it easy to wipe away. You can keep a microfiber towel nearby when working in the kitchen, as it's the best way to prevent oil stains.
Mineral buildup is the white spots or haze on your kitchen tile. For glass and tile, wipe with diluted vinegar, rinse, and dry immediately. For stone, skip vinegar and use a stone-safe cleaner instead.
You should clean the food and liquid stains like those of tomato sauce and curry right away. For porous surfaces, you should blot instead of rubbing. If stains still remain, then reapply your cleaning paste and give it time to remove naturally.
Quickly wipe down your backsplash after cooking every time so no stains remain. For stainless steel or glass, finish cleaning with a dry cloth to prevent streaks.
You should do a full clean weekly with your go-to gentle cleaner. Scrub grout lines, then check corners for buildup. In the end, also inspect for any lifting edges or dull spots.
Deep clean grout, check sealants, and give every surface a full inspection. A few minutes of upkeep can save you hours of scrubbing later and also keep your backsplash looking freshly installed.
You should skip harsh acids and abrasives, especially vinegar on stone or bleach on steel.
You should use warm water with soap or a degreaser. Then let it be for a while, and wipe clean afterward.
Yes, but you should only use it on glass or glazed ceramic, not on natural stone or grout.
Once a month is good enough.
You should brush your grout weekly to keep it fresh. Other options include resealing it yearly and avoiding chemicals, which can strip the sealer.
If you are giving your backsplash a rushed scrub with whatever cleaner you have on hand, remember that it deserves so much better. Whether it's ceramic, glass, or peel-and-stick, the secret to long-lasting, beautiful kitchen backsplashes is to clean smarter, not harder.


