


Best Peel and Stick Tile Trim Ideas for Bathroom Corner 2026
|
|
Time to read 4 min
|
|
Time to read 4 min
Peel and stick trim work is the hallmark of a great artisan. The corner stretches past its physical self; it can come to define the tile work as a whole. As such, what distinguishes a passable from a spectacular bathroom can come down to how well the corners' finishing is taken care of. The finished corner can also act as a means for DIYers to add a personal touch, to reveal their inner aesthete. Pro and stick trim moulding can really make your space feel elevated. This guide will reveal the best peel and stick trims for your bathroom corners and instruct you in how to approach your work as a DIYer in a rounded way.
Corners can be quite tricky. They are exposed to moisture; in fact, it is in the edges where water first makes its way. Corners that are left untidy are potential hazards; one can hurt oneself by coming into contact with raw edges and sharp, pointy ends. Besides, a peel and stick trim can infuse colour and personality to your bathroom. More and more people are turning to decorating their trims and as such 2026 has become the year of the peel and stick wall trim.
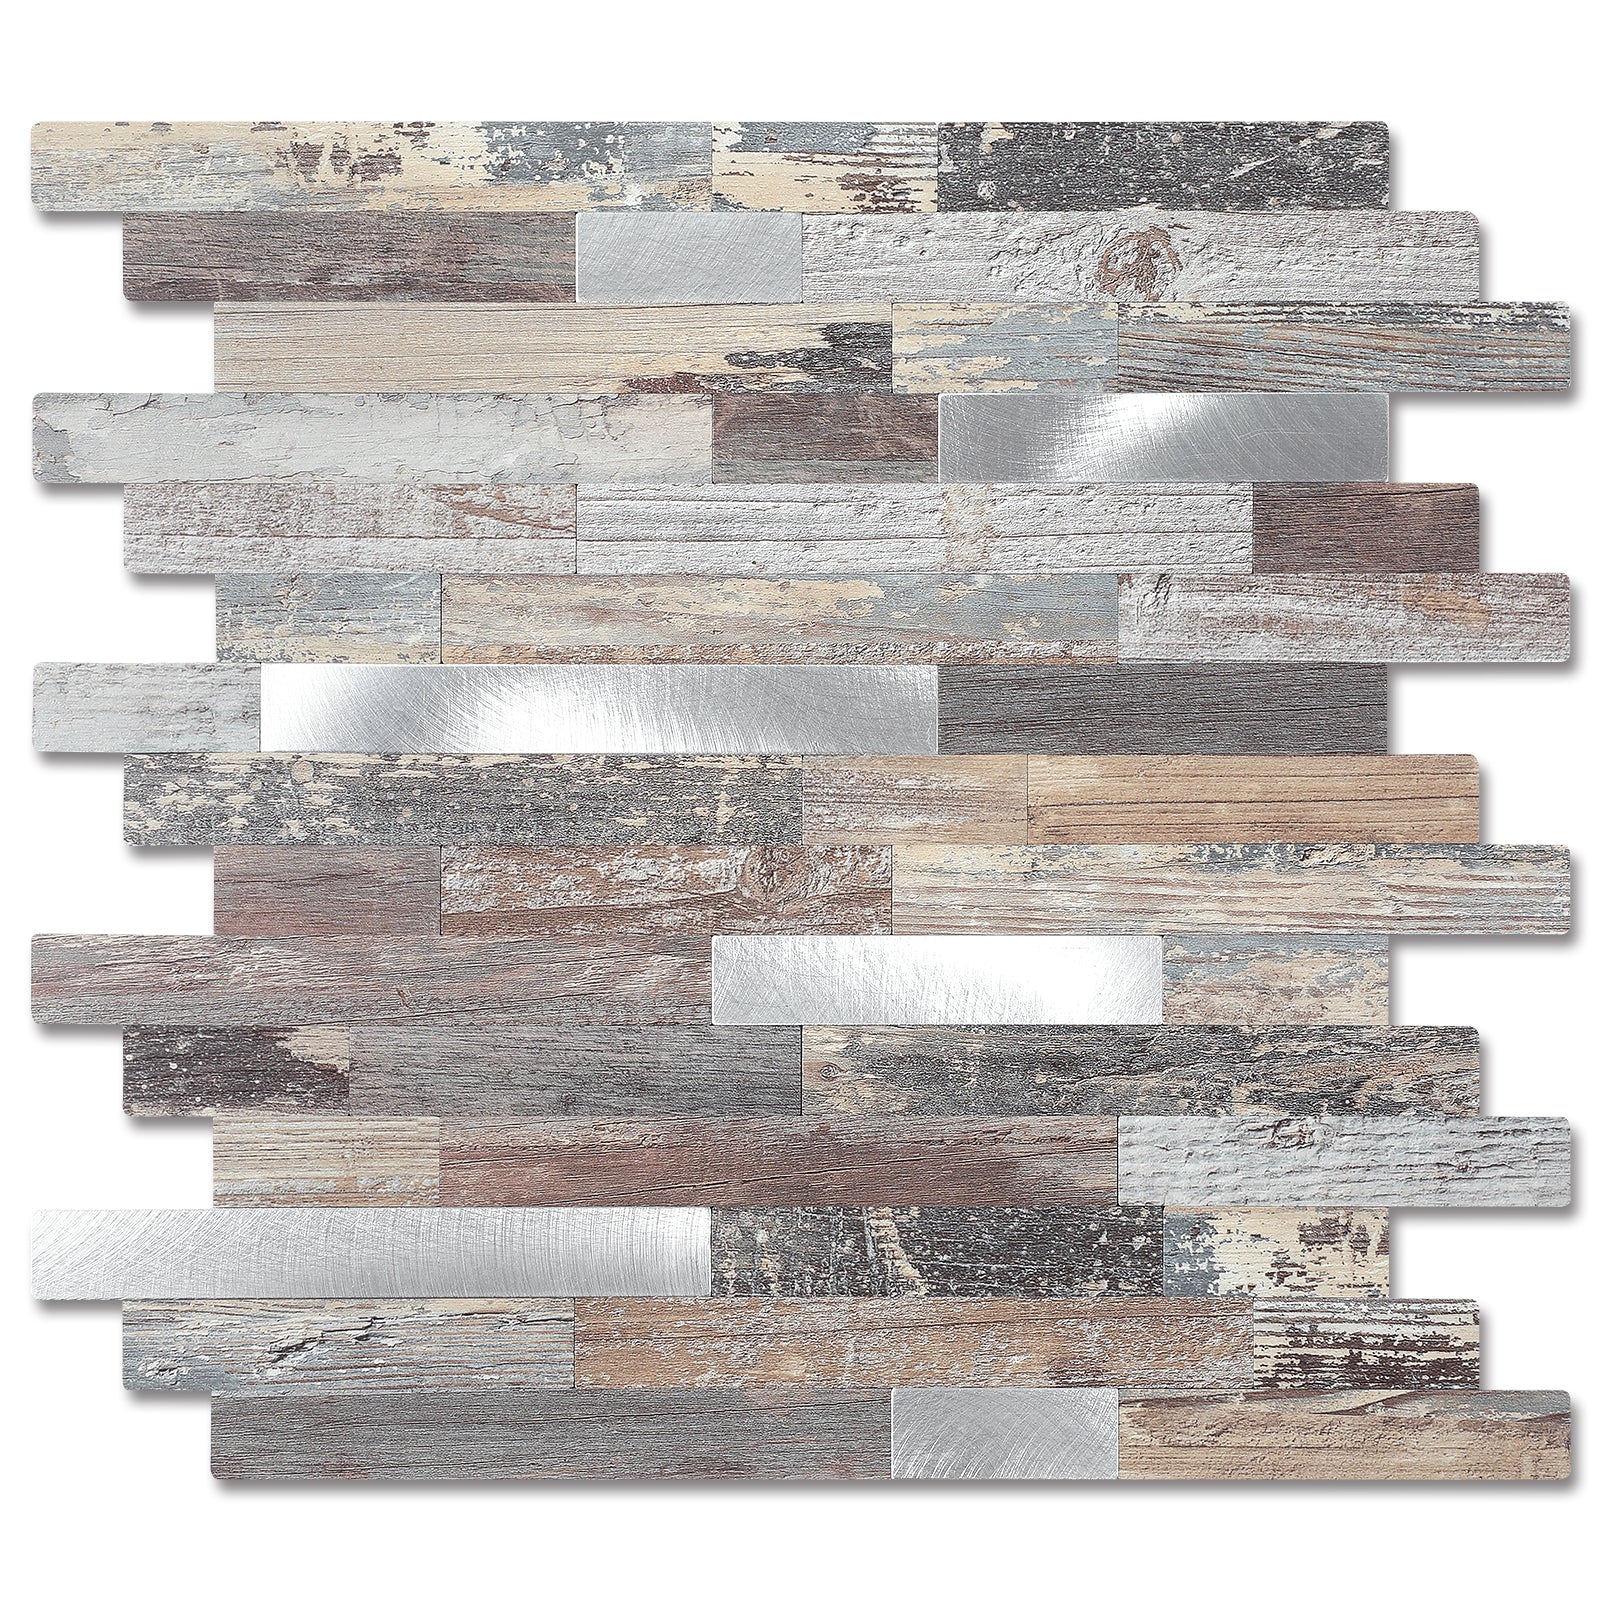
The Schulter-Style Trim allows a DIYer to create lines with exactitude and give an ordered look to their trim. It rounds off the tiles so well that it covers up any flaws in tile-cutting and provides an aesthetic frame to your tiles. It can be found in any number of shapes, like an L- shape or a U-shape. They fit well into a minimalist bathroom design. For 2026, a slim 10mm brass trim as your choice of peel and stick trim is likely to deliver strong results for your bathroom, much better than any ceramic trim.
This is a lightweight trim that is also waterproof, unlike traditional wallpapers, and comes in a plethora of colours like matte, gloss, etc. Since it comes in a range of colours, it is much easier to match with specific design arrangements. As it is budget-friendly, it is best to pair it with colourful design patterns, patterned peel and stick tiles that offer a montage of colours. It is the peel and stick mould that is best thrown into a variegated colour scheme.
These strips are often used for decor and add a speckle of colour and detail to your tiles. They can also mark out areas or add features that one feels are missing. Since they come in ceramic or marble-look, it is best to pair them with handmade tiles or ceramic ones as they would complement their nature and this peel and stick trim would give a holistic look to your work and appear visually sound. For this reason, it often accompanies Traditional, Mediterranean or farmhouse styles.
This is a higher-end metal trim with high water resistance, and is a long-lasting trim. As it is copper-based, it will evolve to fit into your bathroom and feel pleasant as part of your whiplash. This peel and stick tile mould will best go with green tiles, or with a touch of the vintage. Industrial-chic bathroom spaces may also be enriched by their presence, so if you are going for an aura of ostentation, copper brass should be your choice of peel and stick trim.
The best way to understand Decorative Border Trims is to imagine how the addition of features and playful borders would accentuate your field tiles. Because with Moroccan and encaustic trims, that is exactly what you will get. It is the craftsman's choice: mix and match tiles and not have it look absurd. It is a must-have for Maximalist or traditional bathroom schemes, so you can give your stratified tile complex the edges they deserve.
What peel and stick wall trim will match with which bathroom depends on what conditions govern your bathroom.
The relative weight you assign to each factor from cost to durability or installation ease, should factor into whatever decision you make.
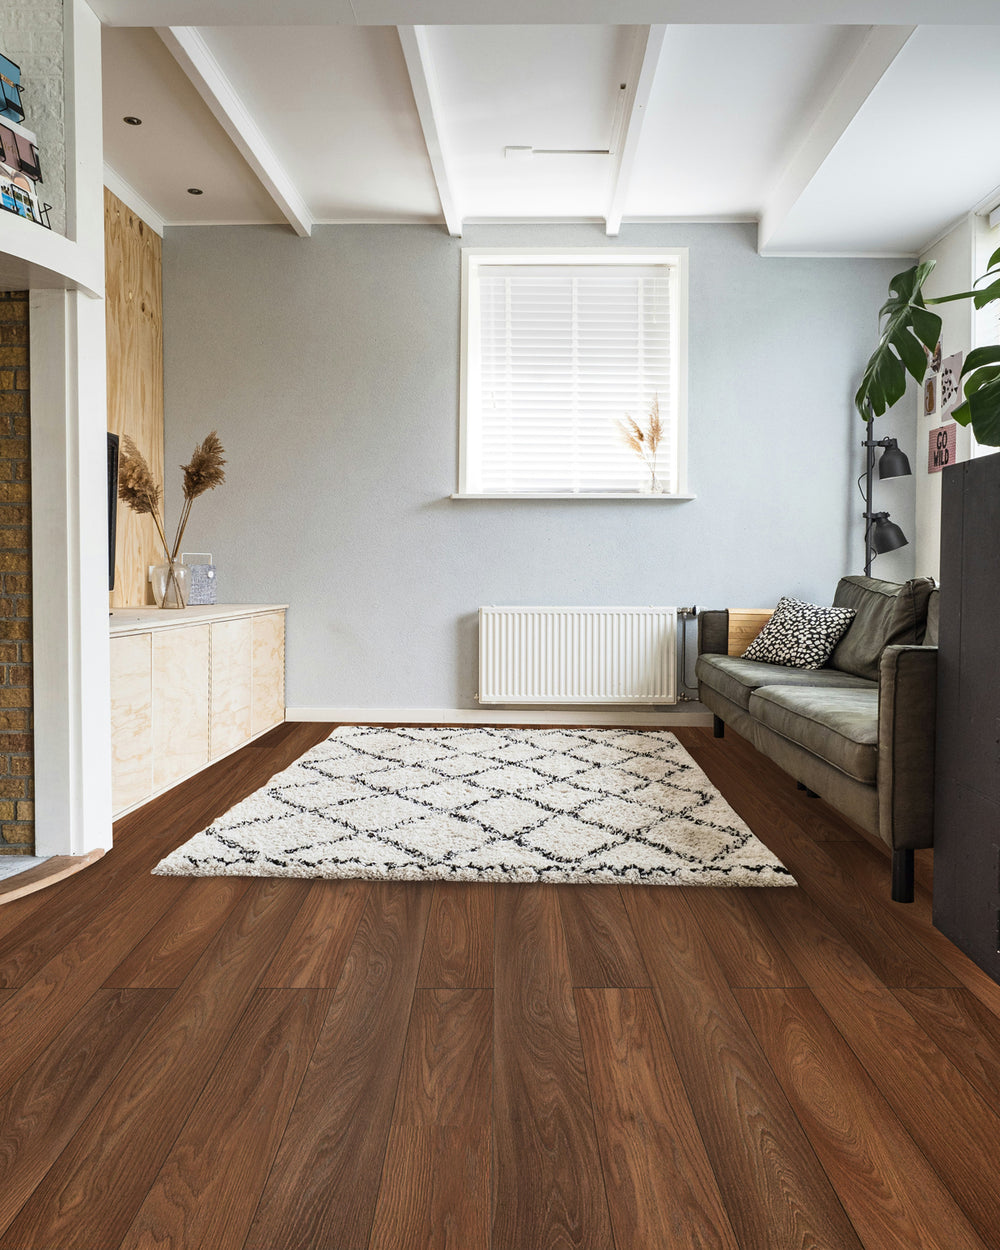
The first step is preparing. The planning going into tile laying is half of the work. It is less onerous and will make subsequent tasks less onerous. Cleaning and drying out the space is essential: up to 50% adhesive effectiveness reduction can be explained by dirt. Lay out the tiles on a dry space and map out the lines and grout after, to ensure that all goes according to plan later.
For corner spaces, use a miter box to cut with 45 angle. For the inside corner butt joints together depending on your trim.
Note: Do not force a trim into a bent shape such as a bullnose around a corner. Internal mechanical tension will eventually dissipate the adhesive.
Now, peel the adhesive liner, align the tile with the space and press down. Next, apply equal pressure across the tile and where the trim meets the tile, run a silicone caulk to double-check if the attachment has gone well. Lastly, do not expose the tile to water for another 24 hours.
One must always fit the trim to the bathroom, rather than the other way around. Thus, choose your trim only after assessing background conditions. Also, planning your layout and working through the whole journey mentally before getting out any trims will save you a lot of trouble. Thus, make sure to think through what you will do. Now you know everything about peel and stick trims that you need to know to get it up there and enjoy a refurbished bathroom. So get out, go online and order your trims right away!


