How to Install a Peel and Stick Tile Backsplash on a Wall
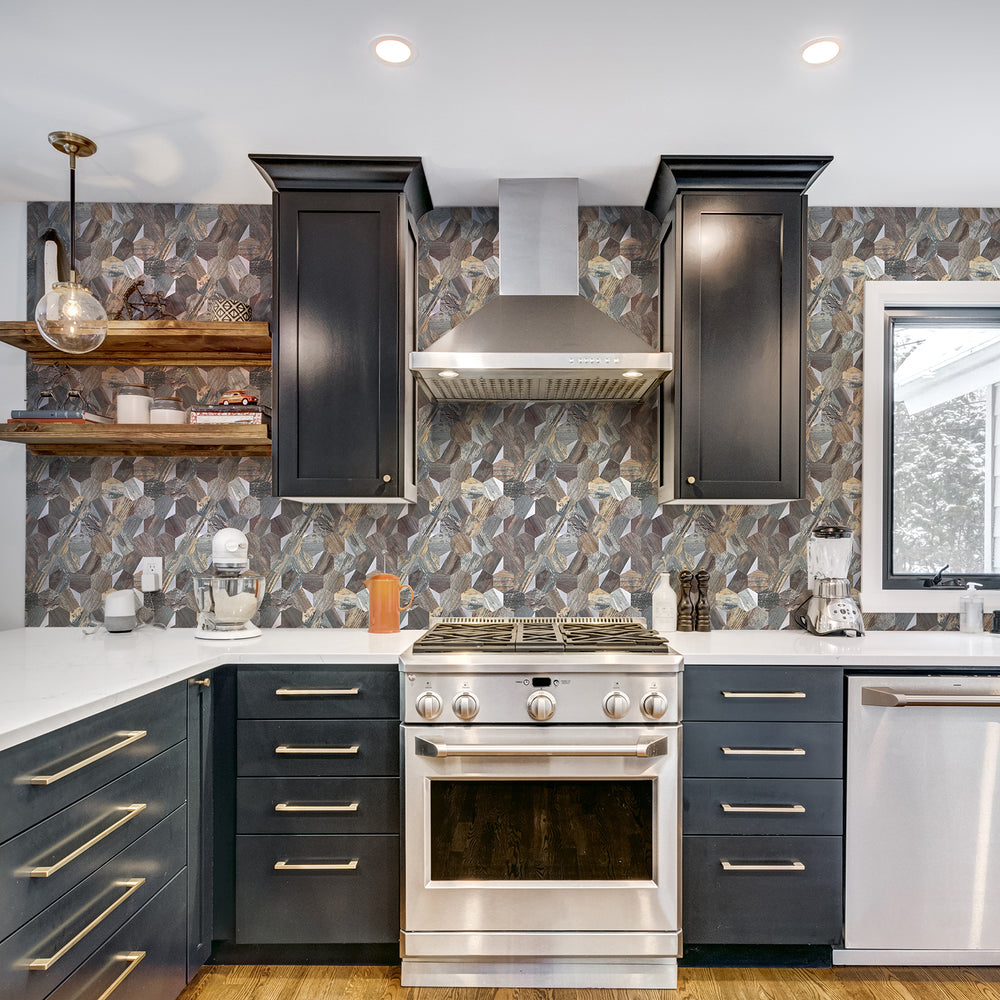
Peel and stick tile backsplashes have become a popular choice among renters and DIY enthusiasts looking to refresh the walls of their homes. Whether you're looking to beautify your kitchen, bathroom, or any other room in your home, these self-adhesive tile backsplashes provide an easy solution. Are you still looking for answers on how to install a peel and stick tile backsplash on your wall? Here, we'll guide you through the process of installing peel-and-stick tiles on your walls, allowing you to complete a wall makeover without worry.

Preparing for Peel and Stick Tile Backsplash Installation
-
Measure and plan:
Before you decide on your wall remodeling plans, measure the area of the wall you intend to cover with a peel and stick tile backsplash to determine the amount of tile backsplash. Mark guidelines on the wall with a pencil, ensuring they are level and square. Cut one side of the tile in a straight line, this helps you keep the tile installation straight and even.
-
Clean and prepare the surface:
Before you start installing your peel-and-stick tile backsplash, it's critical to properly prepare your walls. Thoroughly clean walls with mild detergent and warm water to remove dirt, grease, or debris. Use a sanding block or putty knife to smooth any blemishes, bumps, or uneven areas on the wall. Let the surface dry completely before proceeding.

NOTE: Peel and stick backsplash tiles are not suitable for some walls
Surfaces not recommended:
Painted walls, brick walls, stucco walls, stone walls, unfinished walls (plaster or stucco), and unpainted plywood.
Recommended surface:
smooth tile backsplash, smooth glass tile backsplash, acrylic wall panel, painted plaster, wall felt, stainless metal, mirror, laminate, wallpaper
-
Gather the necessary tools:
Before you start installing your peel and stick tile backsplash, get the necessary tools ready. These tools may include a tape measure, a level, a utility knife, a ruler, a grout float or roller, and a sponge. Having these tools readily available will make the installation process smoother and more efficient.

Dos and Don'ts When Installing Peel and Stick Tile Backsplashes
-
Start with a corner:
Start the installation process from the corner. Peel off the backing of the first tile backsplash and align it with the guides marked on the wall. Place one hand on the right side of the tile and align the bottom edge with your left hand, then lay the tile from the bottom edge to the top of the tile, this is to prevent the tile from folding over itself and sticking together. Press firmly on the tile backsplash after laying to ensure it adheres firmly to the wall. Use a utility knife or scissors to trim tile as needed to fit precisely around edges, exits, or other obstructions.
-
Follow the pattern:
As the installation progresses, follow a consistent installation pattern to maintain a clean, uniform appearance. Whether it's a horizontal, vertical or diagonal pattern, follow the stick layout you choose. Avoid haphazard placement of tile backsplashes, as this may result in an uneven and unsightly appearance.

-
Trim and cut as desired:
During installation, you may come across areas where the tile needs to be trimmed or cut to fit corners, sockets, or fixtures. Use a utility knife or straight edge for precise cuts. Be careful when handling sharp tools and wear proper safety gear.
Post-Installation Considerations for Peel and Stick Tile Backsplashes
-
Apply pressure and eliminate air bubbles:
After placing each tile, use a smooth, clean cloth or tile roller to press it firmly into the wall. Applying pressure will help the adhesive bond firmly to the wall and prevent air pockets from forming beneath the tile.

-
Allow enough time to set:
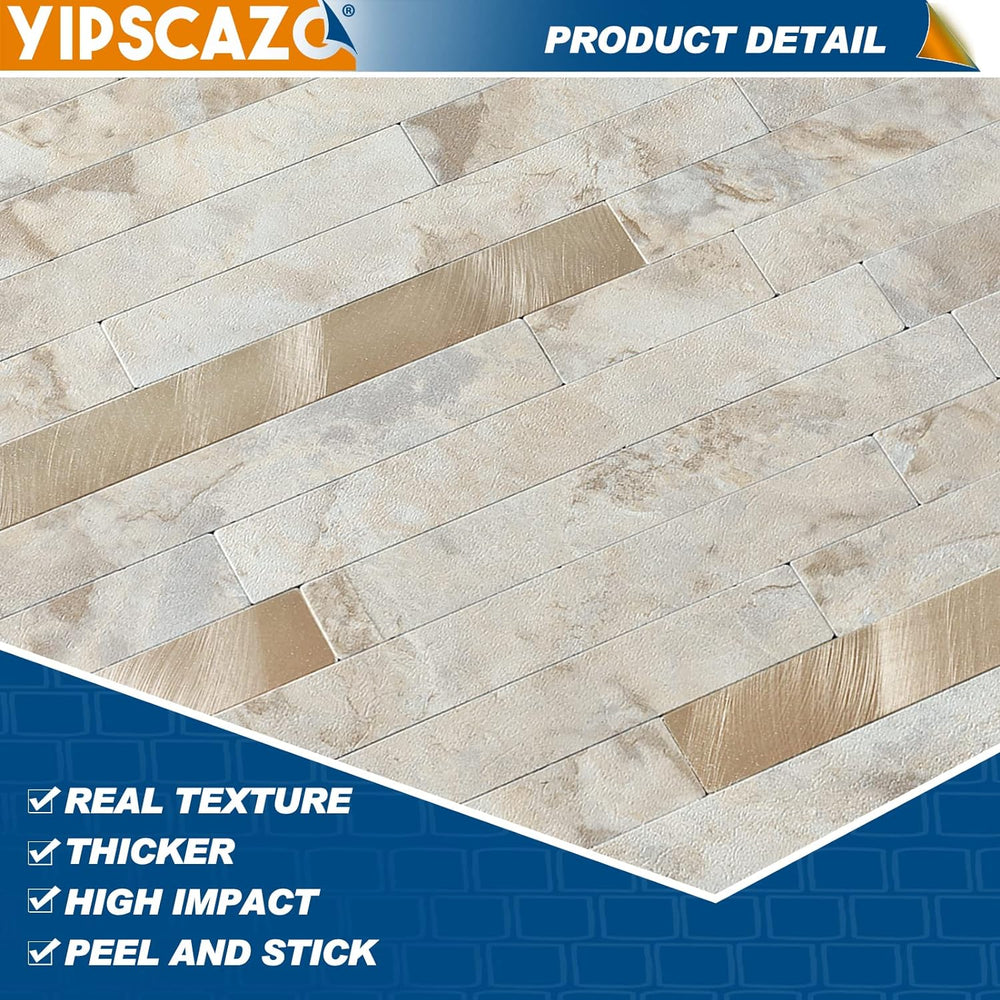
Peel and stick tile backsplashes take some time to properly set and bond to the wall. Follow the relevant manufacturer's instructions on recommended setting times. Avoid excessive touching or moving the tiles during this time to prevent displacement or damage. The Yipscazo Peel and Stick Tile Backsplash requires only a few minutes of pressing on the tiles to stick firmly.
-
Avoid excessive humidity:
While peel and stick tile backsplashes are generally moisture resistant, excessive exposure to water or prolonged humidity can compromise their adhesive properties. Be careful when cleaning your tile backsplash and avoid using too much water or harsh chemicals.

-
Regular maintenance and inspection:
Check regularly to make sure the tile is firmly adhered to the wall and shows no signs of peeling or damage. If any tiles become loose or damaged, replace them immediately to maintain the integrity of the installation—clean tile regularly with a non-abrasive cleaner to keep it looking its best.
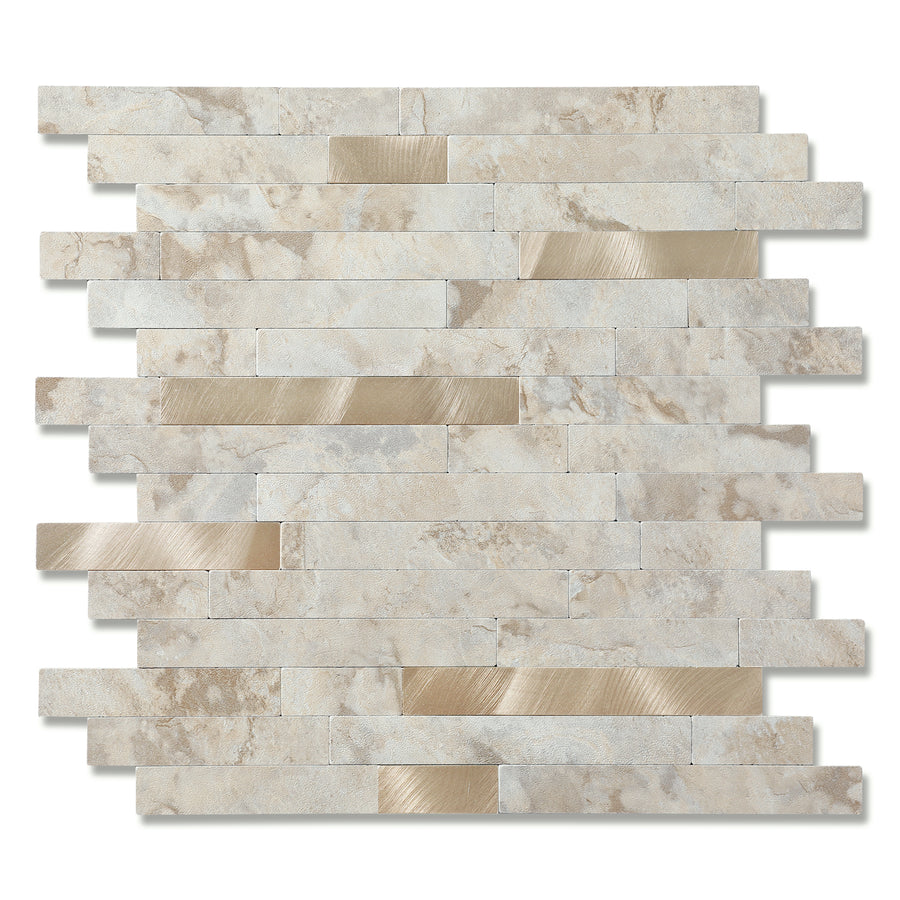
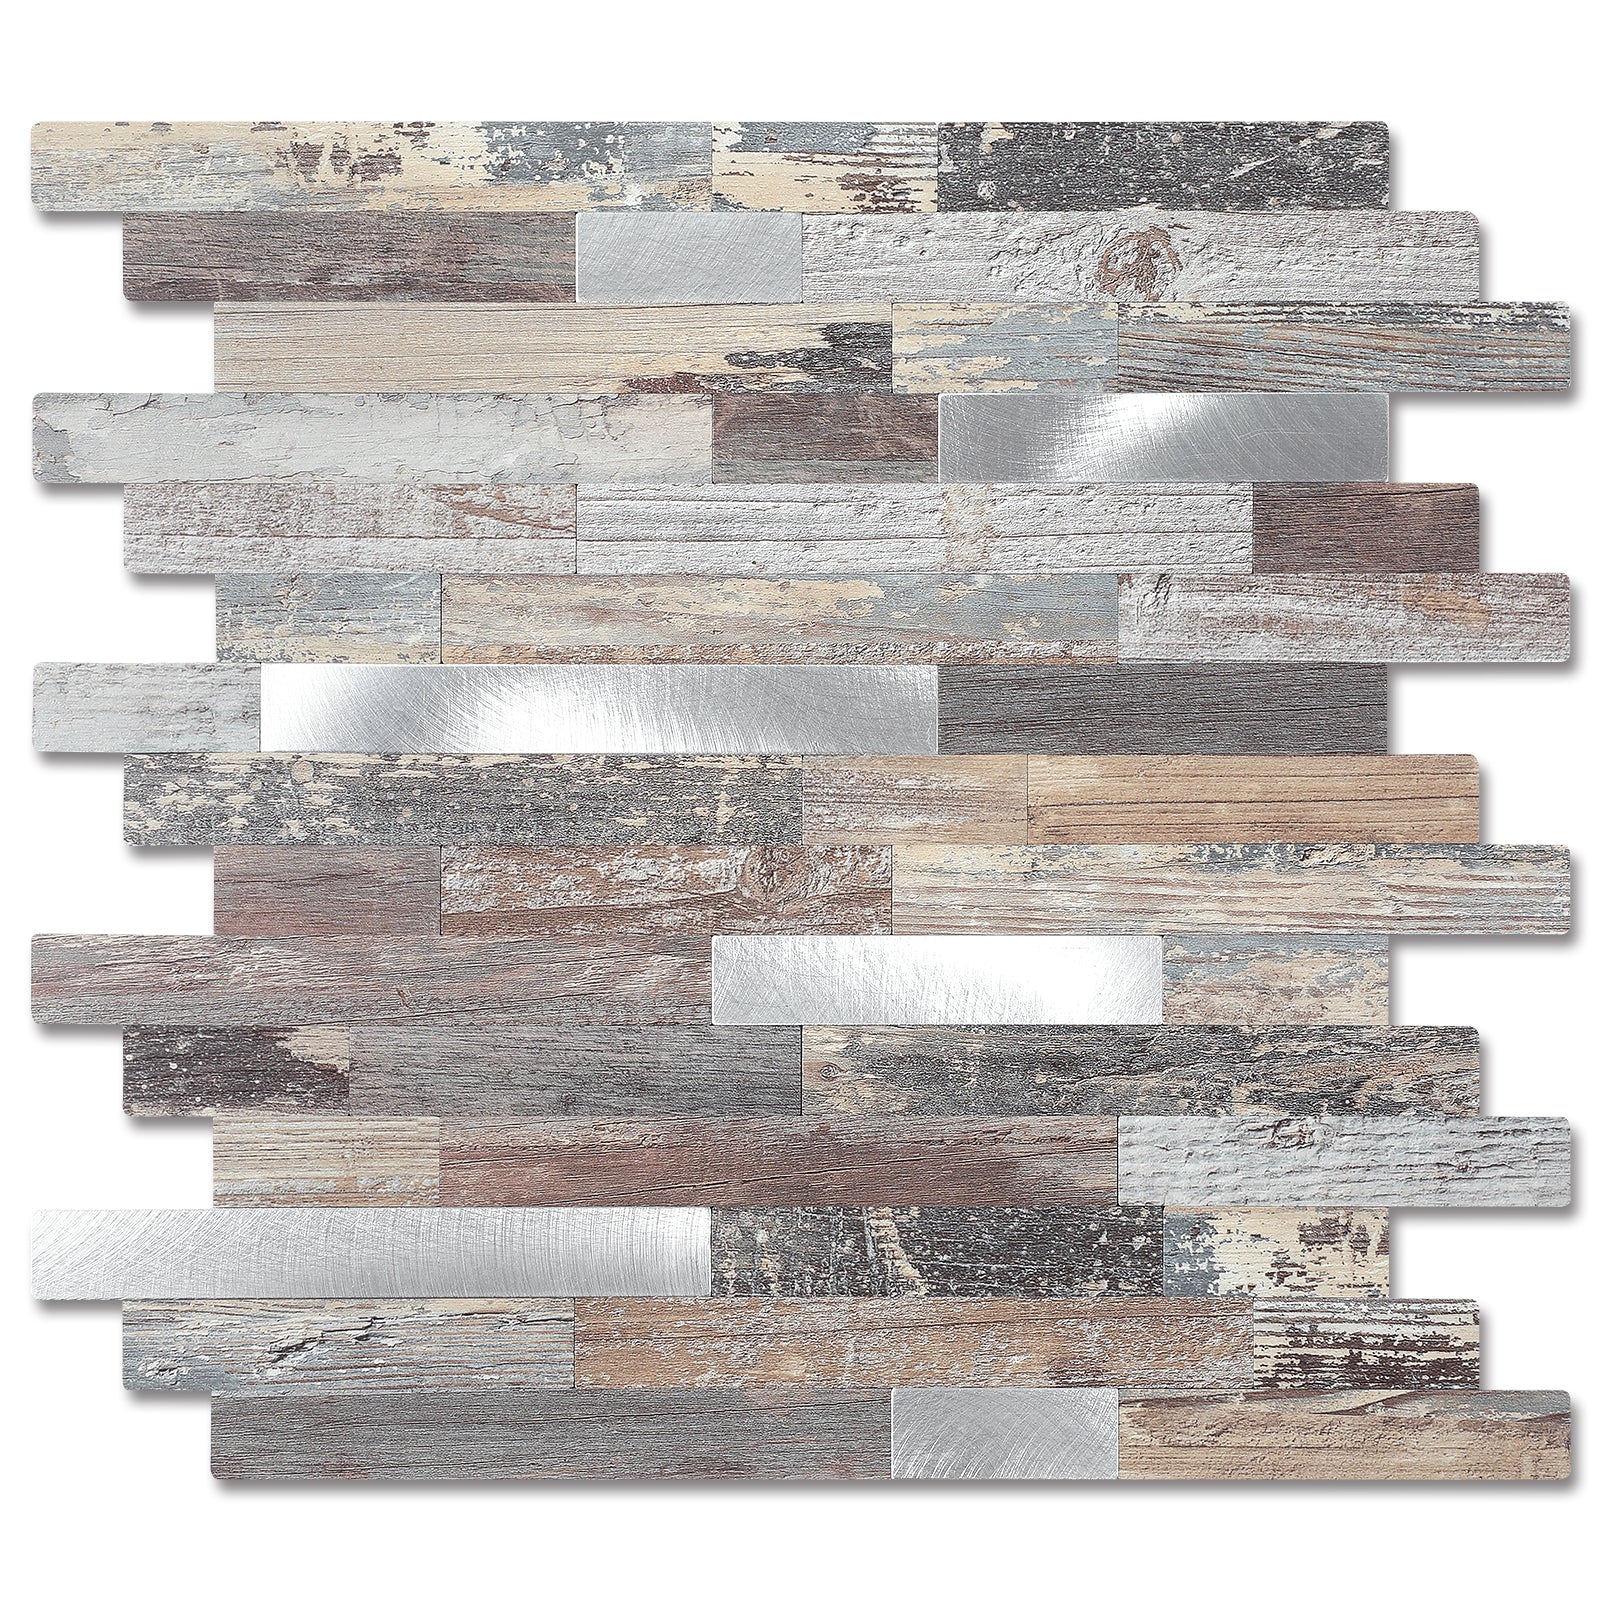
In conclusion, installing a peel-and-stick tile backsplash on your walls is a rewarding and cost-effective way to change the look of your space. By following the preparations, precautions, and post-installation maintenance described above, you will be able to complete the installation process with confidence. With proper attention to detail and patience, you can achieve stunning results and enjoy the benefits of your new peel and stick tile backsplash walls. With over 200 designs of peel and stick tile backsplashes, Yipscazo lets you choose your favorite tile backsplash that matches the walls of your home.

Tile removal tips:
- Warm the tile surface with a hairdryer.
- Start the peel in the corner of each tile.
- Peel the tile away gently.
- Remove remaining glue with an ammonia solution
Leave a comment